Tuesday, 11 March 2014

C&G Module 2 Chapter 4 completed

More threads and stitches

My first task for this chapter was to get together a selection of thicker threads, ribbons, wools etc to meet the brief. I found some chenille at reduced cost in the local haberdashers and bought one of each cone once I had sampled it on the machine to ensure that it would feed from the bobbin. I bought fine ribbon and peele cotton, all of which tested well. I also got 30 Madeira threads.

I hand filled the bobbins with a range of thicker threads, hooped or pelmet Vilened my fabrics and started on a new venture. I have two bobbin cases, one standard and one to modify, so I tested the thicker threads in the modified bobbin, loosening tension until the yarn came through without much resistance and using the back of the fabric, did some test samples.


Page 28 - Sample 1 

Using chenille (top 3 rows) , knitted ribbon (4th row) embroidery cotton (5th and 6th rows), and metallic cords (7th and 8th rows), presser food on, I used straight and zigzag, machine vermicelli, circles and waves. The machine coped well. I used unsupported calico in a hoop for this sample.


Page 28 - Sample 2. 

Using a piece of upholstery fabric; I buy dated sample books from my local curtain and paint shop. lovely Pippa keeps them for me, I free embroidered crossed zigzags, Vermicelli, granite stitch, dots and lines and wavy lines. No broken needles (yet). 


Page 28. Sample 3

Trying out another fabric, I used a piece of random dyed velvet and stitched, cord (top), chenille (2nd row), metallic cord (3rd/4th/5th rows) using different patterns, then paper string in two patterns (bottom 2 rows). 

I then chose and trimmed some sari silk and decided which yarns I would used for the stitching


Page 29. Sample 4

Using calico and Bondaweb as supports, sari silk was fused in stripes and stitched with a range of free embroidered yarns. The top row was stitched with ribbon in wavy lines, the second row with knitted ribbon, the third (sienna) right hand in peele and left hand (green) perle, Right hand metallic cord, then more knitted ribbon, then yellow reel in little circles, green peele in straight line, cord then knitted ribbon in wavy zigzags, chenille in wavy zigzags, metallic cord in spirals, peele in vermicelli and a bit of whip, feather stitch, and orange peele in waves and circles. There were a couple of broken needles in this sample but I really liked the outcome and I tried a few yarns that failed as they were too thick and the machine was not at all happy with them so unpicked. 

The next exercise was to create a 16 square grid and stitch in different thicknesses of threads in five colours. I drew my patterns to stitch and chose my five colours.


Page 30 -the design grid

I chose designs that I hoped would work with the thicker threads


Page 30 - Orange sample

My first sample was in orange using peele cotton, metallic cord, ribbon and chenille


Page 30 - Green sample

For this sample wool, ribbon, peele cotton and chenille were used


Page 31 - Pink sample

Again, perle cotton, ribbon and embroidery thread were used for this sample


Page 31 - Purple sample

The same range of thicker threads were used for this sample - ribbon, chenille and peele cotton


Page 31 - Blue sample

Again, chenille, ribbon and peele cotton were used for this sample.

I have left all of these sample on a heater area of calico as they will work well together at some time in the future to be brought together as 'something else'

The next exercise was to find an image of a seed pod - I chose a poppy head


Page 32 - poppy head in cable stitch

 I chose a poppy head chose a batik fabric and marked my design with air erasable pen on the back of the fabric. Stitching on the back if the fabric and using cable stitch, I used wool for the top of the poppy head (the pepper pot element) and free embroidery I cable stitched the outline in blue and the seed (container) in a variegated thread with long cable stitches


Page 32 - voided poppy head

Then the next exercise was to void the poppy head and use cable stitch in the background. I chose another piece of batik and using ribbon, knitted ribbon and perle cotton stitched in tonal yarns.

Using stitches from Chapter Three and Four

The exercise was to select an image from source materials. I chose a fuchsia flower head as my image  and made a drawing onto Stitch'n'Tear and cut out two images to use as masks


Page 33 - fuchsia images


Page 33 - Source photograph of fuchsias

I selected my fabric and threads and put the Stitch'n'Tear on the reverse side, then stitched through in a long straight stitch to set the image. 

I really love tight free embroidery so decided to apply this for my image but in order to meet the objectives, I also used vermicelli and grannie stitch in the sample.


Page 33 - sample 

So, I used granite stitch for the main body of the flower using tonal threads in the purples x 3 and a variegated thread for the top element of the flower. I had cabled the outline in peele cotton and filled the stamens with short straight stitches in a pale pink an then vermicelli around the image in a variegated thread which matched tonally.

Using stitches, a second piece

The final exercise was to use the fuchsias as voided areas. I created two transfer painted pages and using one made the base fabric and one the overlay with masks. I made one mask but wanted to make a larger piece of fabric that would fit my large hoop so made another. The first was a piece of polyester satin using the duller back as the base of the pattern


Page 34 - Base layer 1


Page 34 - Base layer 2


Page 35 - Masked satin polyester


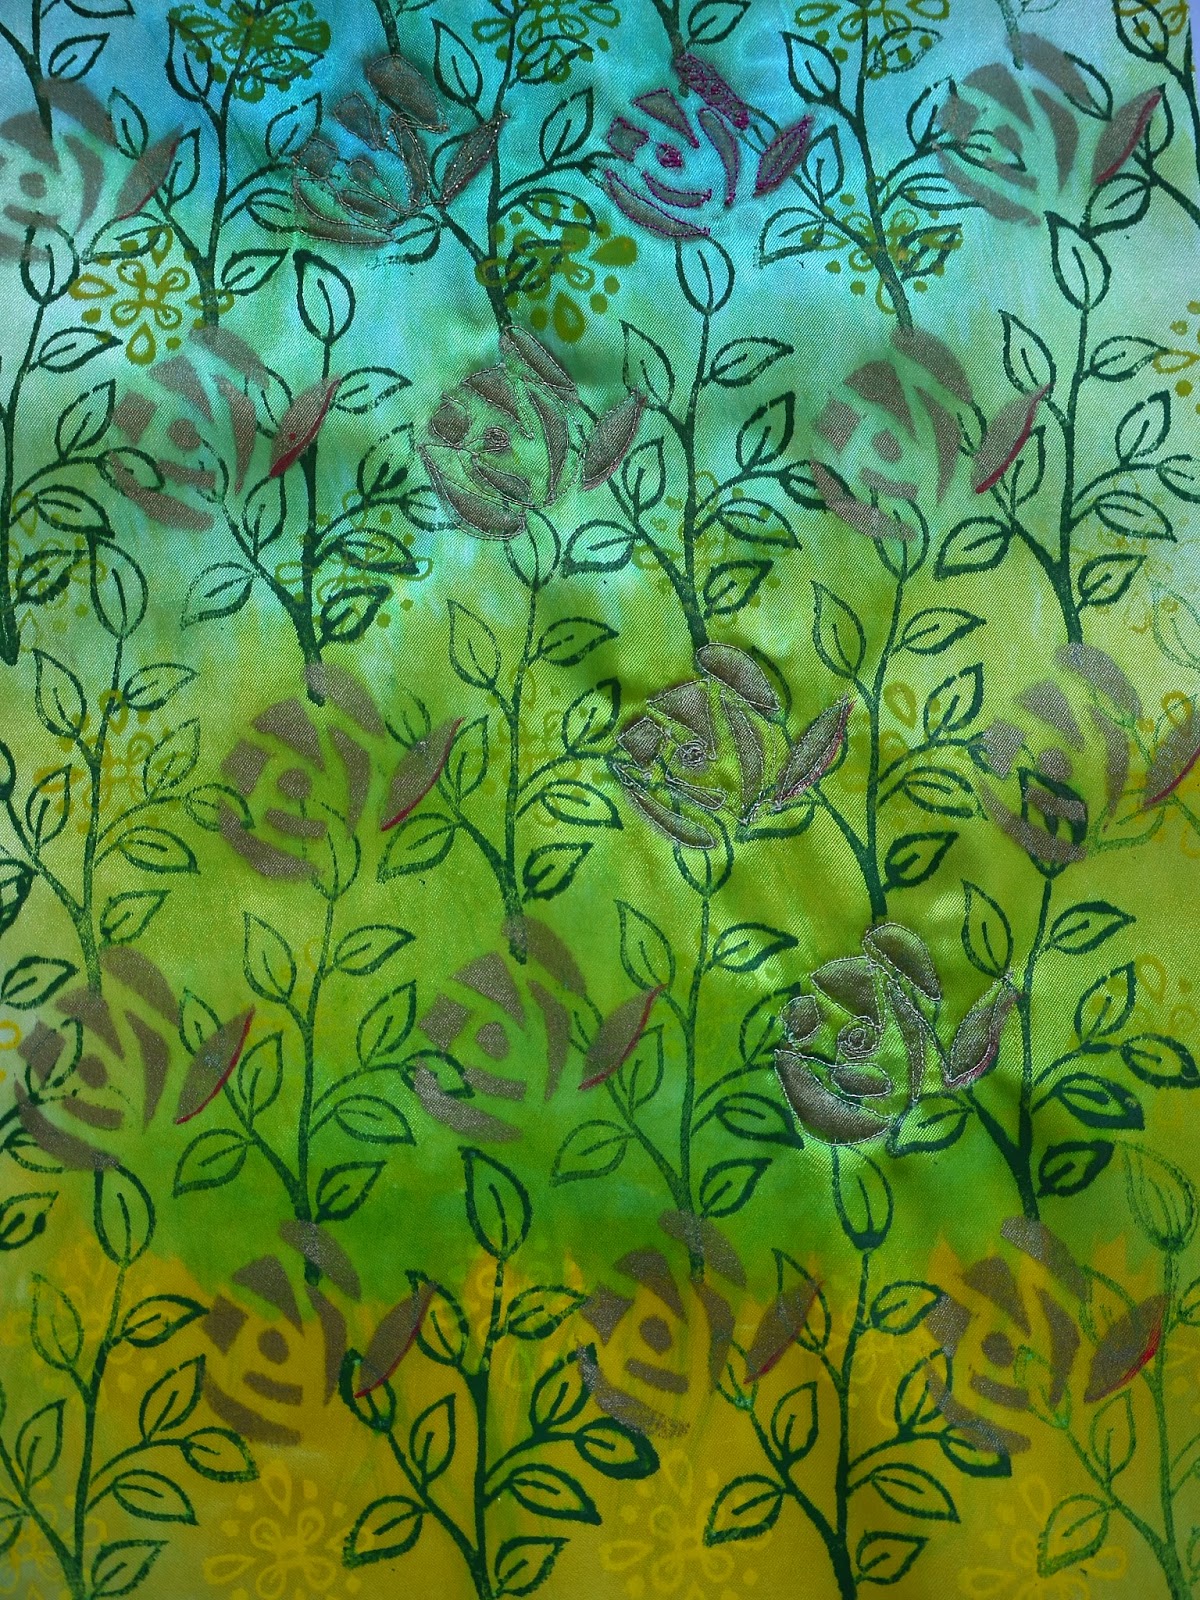
I decided to use a larger piece of fabric and used a piece of polyester cotton, which I had not died to disperse paint for before and having successfully transferred the images, transferred with base one and masked with base two, I then used the fuchsias as voided images and used a tonal pink and blue to surround some of the colours in the fabric, a variegated thread for vermicelli around the image, feather stitch on the end of the stamens and whip stitch for the bottom edge of the flowers .

I really, really enjoyed this chapter and gained a great deal of experience and pleasure from it. I now look forward to making a tassel in Chapter 5.


Page 35 - final sample Chapter 4


Monday, 24 February 2014

Final sample Chapter 3!

I am obviously not completely on top with blogging yet!

Here is the final sample for the Chapter.


Honesty in whip and feather stitch with background enhanced with whip stitch.

Sunday, 23 February 2014

City and Guilds Level 2 Module 2 Chapter 3 completed

Chapter 3 - Thread and stitches

A lovely opportunity to get more thread! I have a three drawer Madeira 40 box of lovely threads but had few of 30 strength so purchased sets of colours from Barnyarns and have now got them as a beautiful display on my stash cupboard doors. They were on the windowsill but got too many to store they, so my work-room looks a lot more organised and tidy now.


Page 24. My 30 threads with others shaded in colour ranges. Variegated and metallics bottom right.


Vermicelli

So, the first exercise was to free embroider vermicelli stitch starting large and reducing in size on a range of fabrics. 


Page 24. Vermicelli on black felt with red thread, reducing in size

I managed to not touch the other rows of stitch most of the time. This isn't the easiest stitch to do freehand, but with practice, I will improve. I then changed to unsupported calico on a hoop with a variegated thread


Page 24. Vermicelli on calico

A couple of close calls with the stitches very close. The variegated thread looks nice. I did have difficulty getting this small sample in focus on the camera.


Page 24. Vermicelli and zigzag vermicelli on purple velvet

This was not very good. I didn't support the velvet and had real difficulty getting the hand motion that I needed to create the stitches as I wished. I don't have a zigzag vermicelli stitch on my machine to try the automatic version. 

Granite stitch

The exercise was to make a small picture using granite stitch, so I stitched a red imagined flower shape in granite stitch and then placed a square of contrasting green in granite stitch around the flower with a stem and the idea of a leaf (straight-stitched). This is quite pretty. Doing very small granite stitch is not simple and hurts my thumbs if I do it for too long!


Page 25. Imagined 'poppy' in granite stitch

I then used a piece of random dyed felt and using the colours suggested by the dye dispersal used granite stitch to create contours on the felt. 


Page 25. Granite stitch on random dyed felt

I made larger granite stitches this time and found that the result was easier to get. Less sore thumbs from less tight circular actions. I think that this is very pretty and can be developed more in the future.

Whip stitch

The top tension was increased to maximum and I stitched on black felt for this sample.


Page 25. Whip stitch on black felt

All free- embroidered, with black felt supported on a hoop.

The left hand side uses a small stitch length with a variegated thread on top and yellow in the bobbin. The central stitching is done with purple thread on top and gold in the bobbin and the right-hand with red thread on top and yellow in the bobbin. 

I am reasonably pleased with these results but feel that I may have to by-pass the bobbin to get a better outcome. I have never done this before but sort of worked out that if I didn't take the bobbin through its tensioning plates, I would remove any bottom tension. So I did this for the next exercise. I do have a spare bobbin race but haven't done anything with it yet as I have been a bit nervous of making adjustments and not getting it correct. I must be more courageous!

Feather stitch

Bobbin tension by-passed, I put red 30 thread on top and yellow in the bobbin. I the top section I probably stitched too slowly to get the effect I was looking for, although I did stop every now and then to deliberately create little bobbles


Page 26. Feather stitch on black felt.

In the centre right of the sample, I used faster hand movement which pulled the bobbin thread up more and created a good feather stitch. I then changed to a red thread on top and metallic in the bobbin and a medium fabric movement which also creates a good effect.

Moss Stitch


Page 26. Moss stitch on Cotton

For this sample I used some simple cotton and a variegated thread in the bobbin and monfilament on top. The sample was supported in a hoop with top tension at maximum and bobbin tension bypassed. 

Once stitched, Bondaweb was ironed on the back and then a piece of calico behind that. The monofilament was removed (not easy as I couldn't see it!!) and the bobbin threads were then free loops on the top of the fabric.

This was fun, I have never tried this technique before. 

Final sample

This sample was to be stitched onto a transfer painted or random dyed fabric base. I chose a piece of beautiful random dyed felt and mounted it in a large hoop. I then selected the colours I thought would be good with the fabric. 


Random dyed felt and threads 

Page 27. 

I chose honesty as my flower and drew this is air-dispersible pen. I used 30 lime coloured three on top and a variegated metallic thread in the bobbin with the bottom tension bypassed. I stitched the flowers  in feather stitched and the stems in whip stitch. 

I then used the other colours, blue, hyacinth and fuchsia with lime in the bobbin to create an outline. I do think that the honesty sort of vanished in amongst the rest of the stitching but don't mind as this looks quite organic and almost like a cabbage. Lovely!

So before I fixed this into my book, I photographed the back and really like that as well. Delicate and really like a cabbage. 

Back of stitched sample.


I enjoyed this chapter and look forward to using the thicker 'threads' in the next one.


Sunday, 16 February 2014

City and Guilds Level 2, Module 2 Chapter 2 completed

Making Patterns

I made a small collection of different patterns both natural and manmade


Page 14 consists of images of natural altered natural and ceramic and stone pictures that I have taken around the world. I have been lucky to have travelled widely, always with a camera and take photographs of unusual items when I see them


Page 15 - the top five images are all architectural where the architects have used pattern in their designs. The two 'other' patterns were found just be opening my wardrobe door. I like pattern particularly Indian block printed fabric designs. 

The bottom four images are bottom left x 2 images of cow parsley, which is one of my favourite countryside plants. It is in every hedgerow where I live. I then cut a stencil trying to depict the plant. I found this quite tricky as the seed heads are very tiny and didn't make a great job of it but used some handmade paper and stencilled it with blue acrylic paint and sponged gold ink from an ink block alongside. I have just purchased a scan and cut machine which means that I will be able to scan a drawing into the machine and it will cut my images accurately.

Symmetrical patterns

The lovely tiles from St David's cathedral were interesting. In the final two, I recognised rotational and mirrored patterns 

Printing

I drew an imagined flower using a craft knife cut the petal shapes and stuck them to card with Pritt stick. I created and handle and marked the top of the newly created print block. Unfortunately the petals are not obvious in my photograph, but they will be obvious when used to print. 


Page 16, drawing, negative foam cut and block

I had a few pieces of brown and cartridge paper which I had painted previously and decided to use these as the base of my symmetrical block samples. So using brown painted paper, red acrylic paint and my block I made a pattern of straight repeats


Page 16. Straight repeat pattern.

Using the same block on a previously painted white cartridge paper, I blocked spot repeats with blue acrylic paint.


Page 17. Spot repeat pattern

Again using some previously painted brown paper, I used yellow paint and created a blocked half-drop repeat pattern, which looks subtle and attractive although there was a small splurge of green on the paper when I started. 


Page 17 Half drop repeat pattern

Cutting a stencil for rotational symmetry

I chose a simple design taking the idea of a Charles Rennie MacIntosh rose from a china coffee cup and traced it, then made a stencil with a craft knife and drew a pencil stencil to see how it would look. Then I tried it with yellow paint on some hand made paper, which has Shakespeare text included in it! I also lino cut the rose and used sponged gold ink from an ink pad an a light spongeing of silver ink, I made a little image. I decided that the rose would work with my block to make the patterns for the chapter.


Page 18. Lino cut, drawing, stencil and images created with the stencil and lino blocks.

Using my stencil, I used a piece of transfer painted polyester satin and blue acrylic paint to make mirror image block patterns - I think that the rose now looks like an angel fish!


Page 18. Mirror Image pattern

Using the same fabric as the previous sample and the same blue acrylic paint, I made some rotationally symmetric patterns noting the angle using the marking on the back of the block to find the marked top and rotating it through 90 degrees each time.


Page 19. Rotational symmetric pattern

Using a piece of transfer printed polyester satin, I block printed and stencilled using my home-made rose stencil and three commercially made blocks. I used good paint with my stencil in half drop pattern, a leaf block with green acrylic paint again in half drop pattern and a small flower block using yellow acrylic paint in a more random pattern as it would blend subtly with the sample colours. I was very pleased with this and think it would make a lovely summer skirt. I then added some free embroidered stitch around some rose petals in gold and one with a pink thread.


Page 19 Half drop symmetry with blocked patterns and stitch

I continued to experiment with colour and pattern using transfer painted paper on polyester satin, my block and stencil. I am attracted to half drop symmetry and continued to use this on my next two samples


Page 20 - Transfer painted paper, yellow and red


Page 20 - Polyester satin using previous transfer painted base and then blocked and stencilled in red and green acrylic paint. Quite Christmassy!

I experimented with another transfer painted base and my block along with others on another transfer painted page as an overlay. This is pretty and I had thought that this would be the basis for my final sample but I then used another base transfer painted base and the same overlay which I thought created a better foundation for stitch. 


Page 21 - Experiment with base and blocked overlay

So, my final design. I hadn't really liked the result of the transfer painted image but when I looked at the design again, I realised that it would work with the blocked overlay page and stitch rather better. 


Page 22. Transfer painted paper


Page 22. Blocked overlay using rotational home made block, straight alternate lines of large flower blocks and half-drop star shaped flower with more randomised rounded petal flowers amongst them. I then added the little yellow blocks rotationally through the design and transferred the base and overlay to the base (above)


The final sample, using the two previous papers with transfer painted base and pattern, supported on felt and stitched in the style of Cefyn Burgess using cow parsley as a floral inspiration, black thread top and bottom and free embroidery. I probably should have supported this with a hoop as it has puckered a bit, but still looks lovely, I think......


Page 23. Stitched patterned polyester satin sample

I think that lined with bright green or yellow satin, this design would make a great evening jacket! I really enjoyed this chapter.


Monday, 10 February 2014

Stitched voids

How very odd that the stitched voids were not on my previous blog! Here it is now.


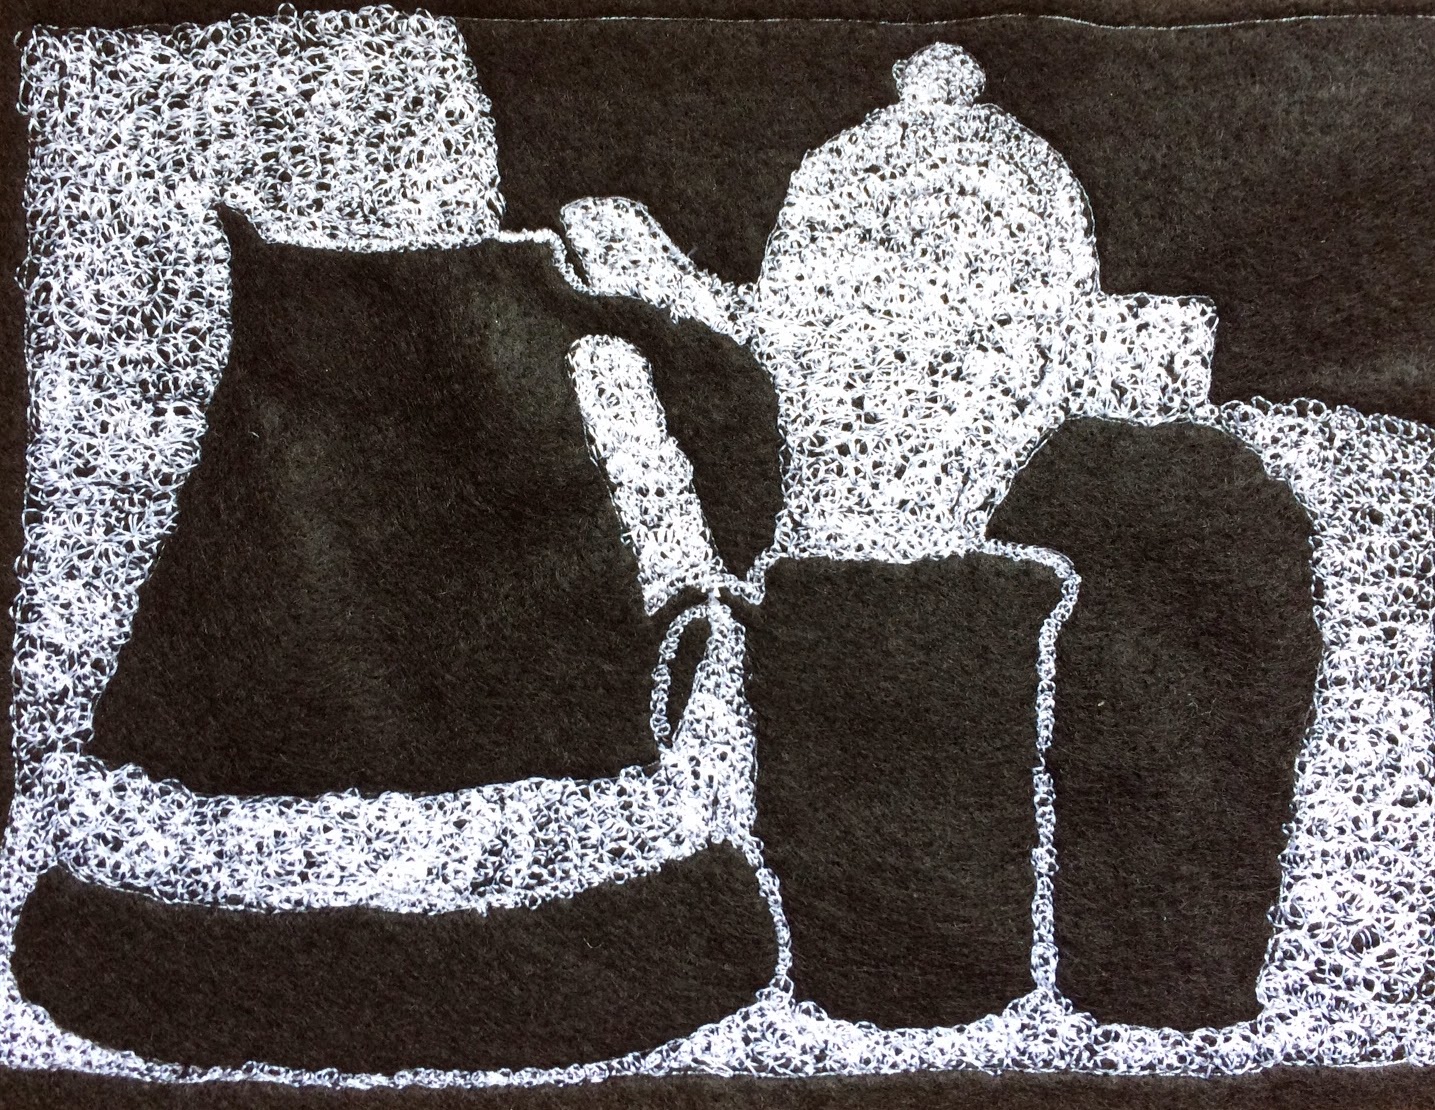
Stitched void using granite stitch