Tuesday, 9 December 2014

C&G Module 4 Chapter 2 completed

Patterns and textures of anything bird-like

A4 size for these six pieces was likely to be manageable although I could see a challenge with the egg sample.

Scribbled ideas

I made rough sketches of the six suggested elements


Page 17. Bird shapes


 Page 19. Nests


Page 18. Feathers


Page 20. Bird skeletons


Page 21. Eggs


 Page 22. Footprints

Print and stitch patterns - bird shapes


Bird prints


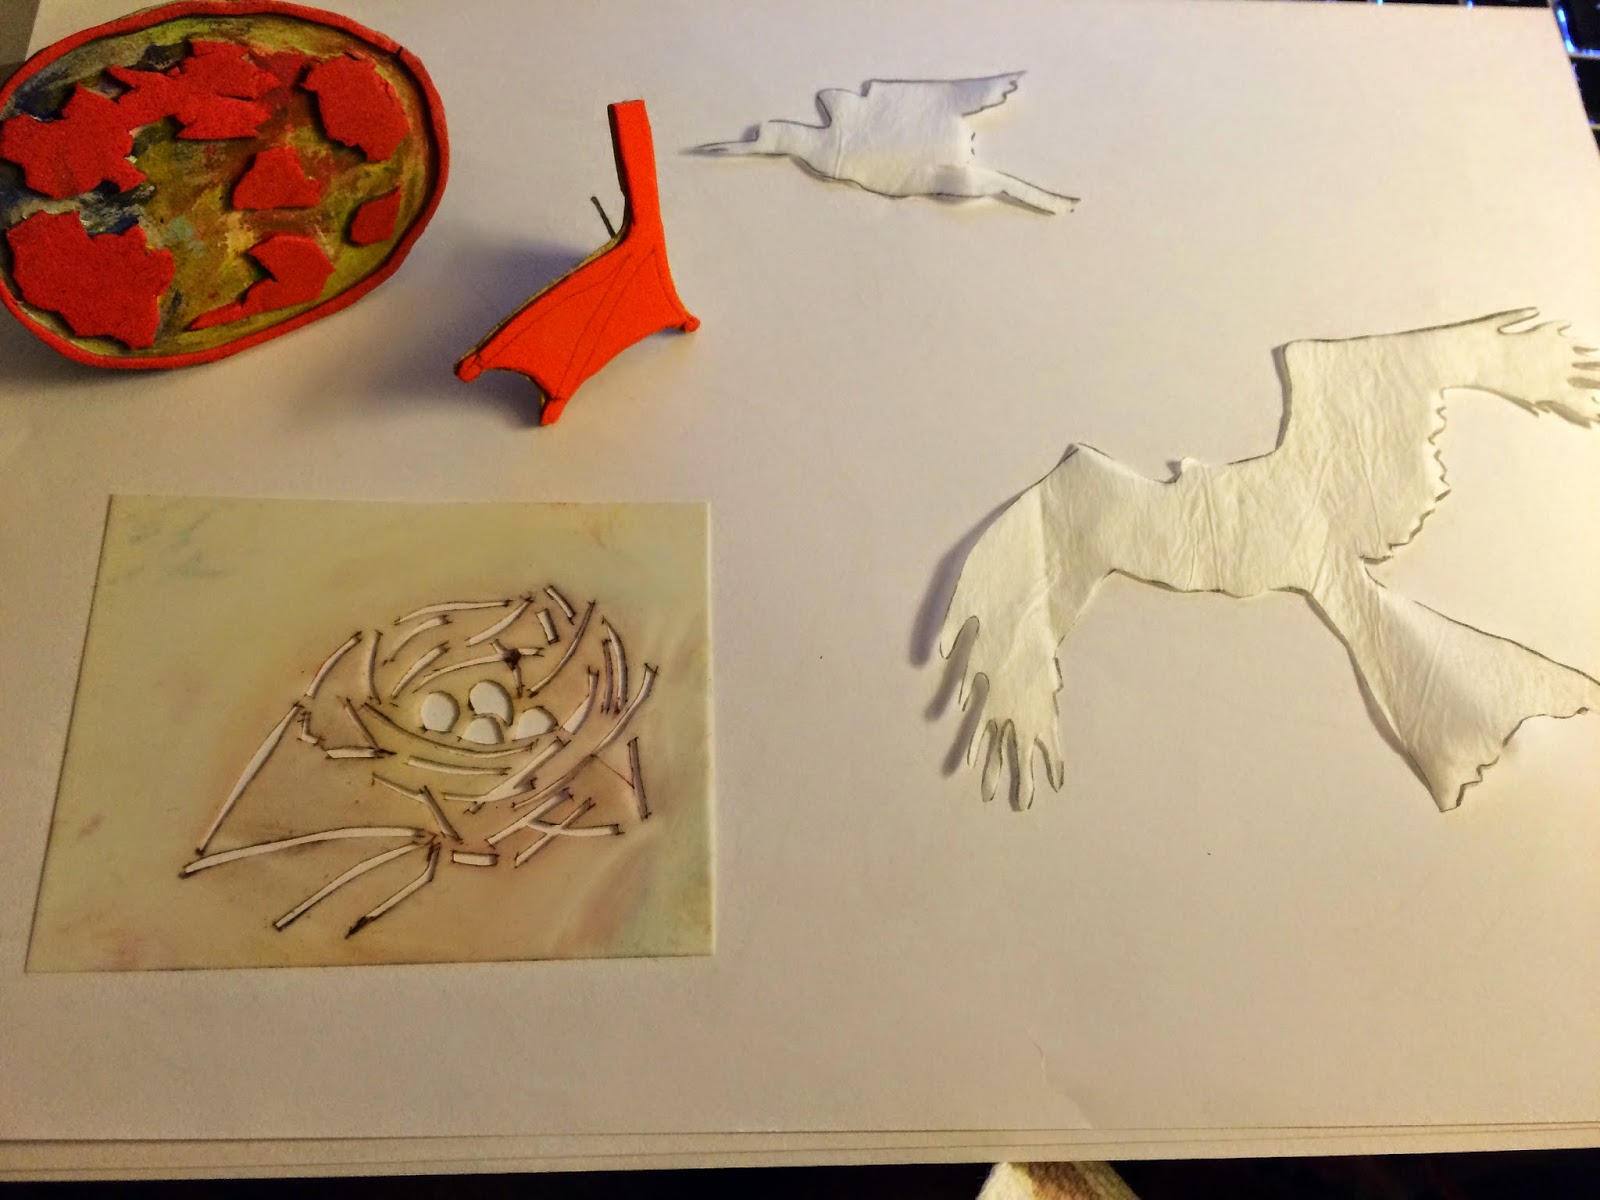
Bird blocks of an Oyster Catcher, a Red Kite and a stylised peacock from a de Morgan ceramic

I printed the bird blocks onto calico using Koh-in-Noor paints for the first time but thought the sample too stark, 


Page 22. Blocked calico

so, I printed a piece of calico and did negative blocks on a Gelli plate before transferring to the fabric, but didn't get a very good print. 


Page 23. Negative print

So, I then printed another mix of paints on calico and made both positive and ghost prints 


Page 24. Bird sample before stitching

Using a range of threads, I stitched the ghost areas of the red kite and the Oyster catcher and the positive print of the stylised de Morgan peacock. I stitched the peacock with metallic thread which doesn't show up too well on the photograph. The focal point is red stitching in one of the peacock's eyes.

Pattern repetition of shapes and spaces - bird's nests

Using one of the images from my research, I made a simple stencil and used a range of soft coloured Markel sticks to mark the fabric. 


Nests printed on calico

I free embroidered the piece with soft coloured threads and metallics. The focal point is golden eggs in one nest. Sadly, this does not show very well in photographs.


Page 25 Stitched birds nests

Enlarging birds feathers

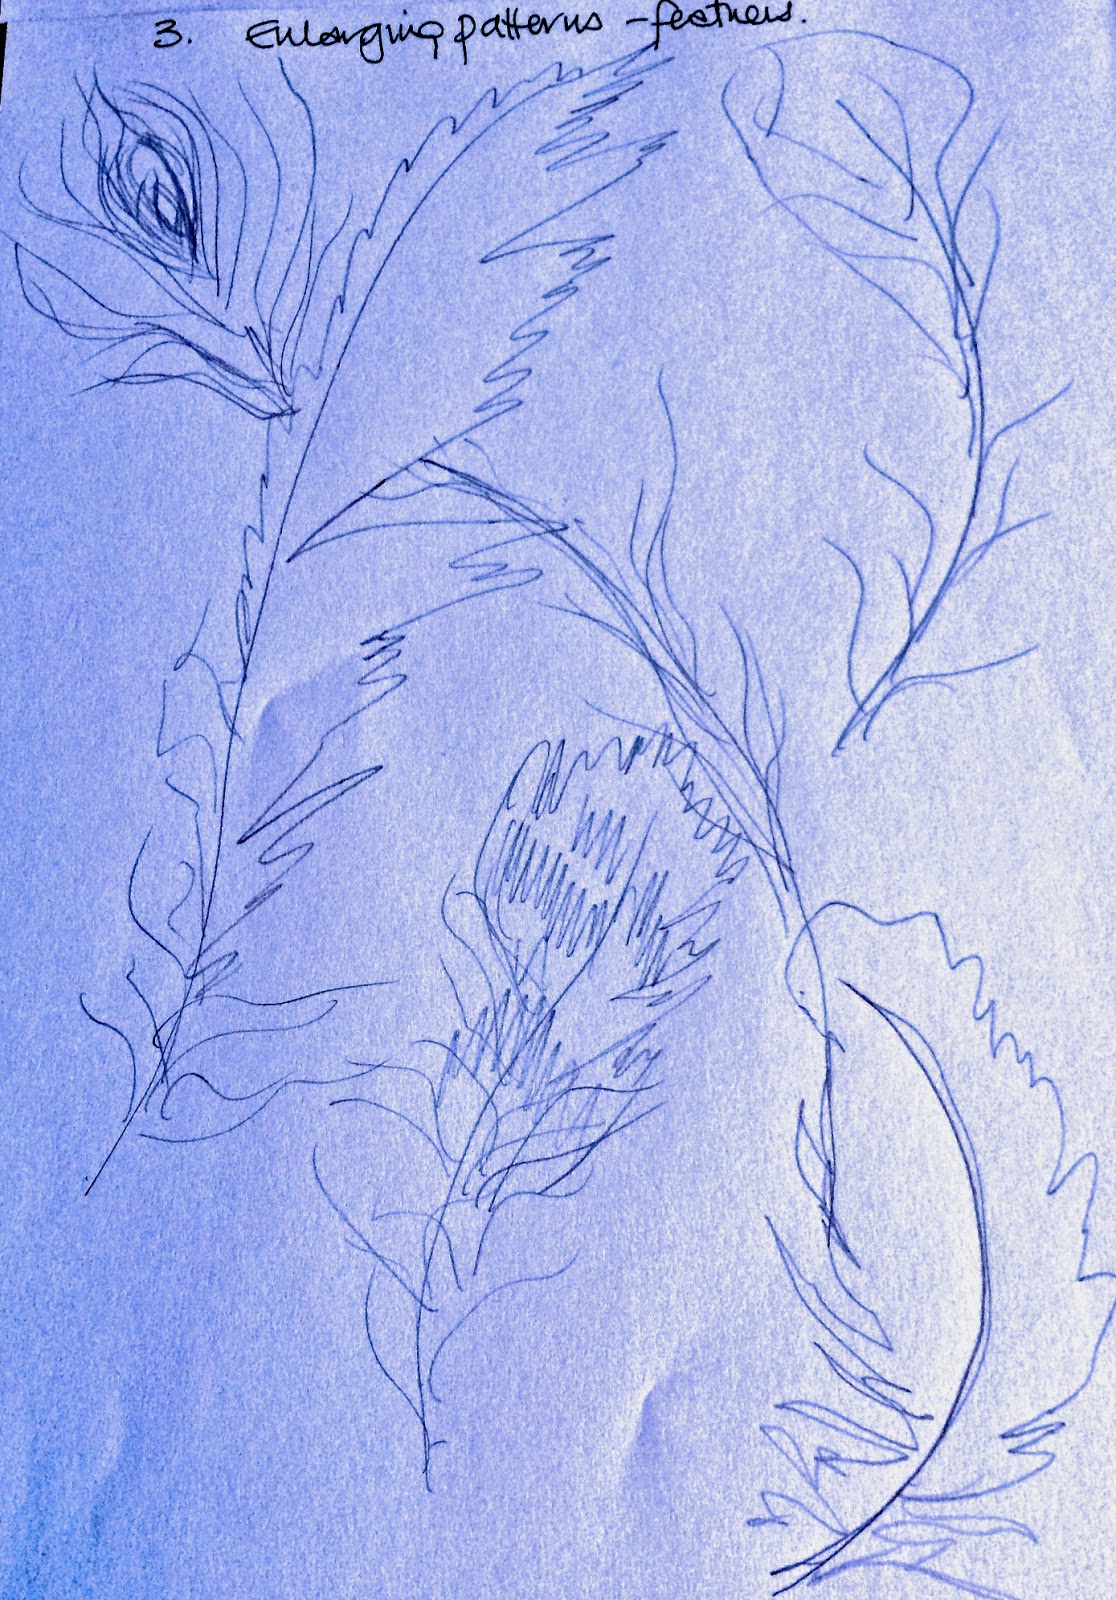
I supported a piece of calico with Vilene as I anticipated some heavy stitching. I printed a feather pattern using a Thermofax screen and then painted some simple feathers using Koh-in-Noor paints again. 


Thermofax base on calico


Simple painted feathers


Page 26. The stitched sample

I didn't really think that I should use the peacock feather as they are overdone, but the colours and shapes tempted me. I enjoyed making the feather using one from my hat that I wear on walks. I then stitched large feathers and stitched over with smaller ones. I like the colours and the way they mix, although the little green feather does look as bit like a fern!

Border designs, repeating patterns - bird skeletons

Having recently visited India, I really appreciate the colours and vibrancy of the borders they create. I also remembered a previous sample when I had used red, black and yellow threads and loved the effect, so - I used a bird skull as my source and created a simple motif for the border. I did think that I would also use a leg bone as an added shape but as the piece developed I decided not to add to it.


The bird motif top left and some possible development

I made a template for the border to fit the motif with small elements overlapping the edge of the border to create interest. I used the beak as an additional shape to create diamond shapes in the border. Using a transfer pencil rather than a block, I transferred the image onto Vilene as I intended to use cable stitch with mercerised cotton in the bobbin, bypassing the bottom tension.


Page 27. Bottom - the paper template with motif; top the transferred design on calico

I stitched some of the 'eyes' of the skull to see if my idea would work and was happy with the result 


"Eyes" in cable stitch 

I then proceeded to complete the piece using the colours as suggested above.


Page 28. The completed sample

I used a variegated black/white cotton for the eyes in the centre of each  border and am really pleased that they worked so well, almost looking like eyes. I varied the stitching and on the 'red head/yellow eyes' elements think that they look like aviators helmets and glasses, so that all fits with flight!

Altered patterns - birds' eggs 

I knew that the was going to be tricky as the tracing I had made was so complicated, so I sketched eggs and then enlarged the drawing on the computer to fit A4 paper. I then removed some lines from the sketch to simplify the image.


Page 29. The first sketch


Page 29. Enlarged to A4


Page 30. The finished egg sample

The eggs were all stitched around with brown thread and small areas of the piece were stitched with granite stitch in soft variegated threads, then blocked with a simple print block using fabric paints. The focal point is (visible in the real sample) gold paint in a section of one of the eggs. It shines.


The egg block is top left

Thicker and thinner lines - bird footprints

Webbed ducks' feet were the images I selected to use for this piece. I drew a webbed foot turning in angle and diminishing in size as it walked down the page. 


Page 31. The diminishing web

I backed calico with Vilene and using mercerised cotton, cable stitch and bypassing the bottom tension, stitched the larger three feet, then using a thick cotton thread, I stitched the next smallest feet and finally using normal sewing thread, I stitched the smallest feet. They are barely visible against the fabric. 

I then made a block and printed the webbed foot over the piece using yellow fabric paint. The webs were stitched alternate rows with purple and orange thread picking out different parts of the foot to stitch. The focal point on this piece is on the right where I have stitched the toenails and web in purple. 


Page 32. The webbed sample

Not having a large area to pin or hang the pieces together, I had to lay them on the floor to take a photograph of them.


Page 33. The six samples side by side

This chapter is now completed - on reflection, I could have used different backgrounds for the images but that may have confused the results.




Tuesday, 2 December 2014

Quail eggs

Just to add to previous blog, I have sketched some quail eggs


C&G level 2, Module 4 Chapter 1

Birds of a feather

Words around the theme I thought of were

  • Owls
  • Garden birds
  • Game birds
  • Raptors
  • Domestic birds 
  • Exotic birds
  • Water fowl
  • Nests
  • Eggs
  • Footprints
  • Skulls and bones
  • Flight
  • Feathers
  • Wings
Extending the list, the following were added

  • Chickens
  • Budgies
  • Pheasants
  • Herons
  • Ceramics 
  • Printed Textiles
  • Stitched Textiles
Picture gallery - I am lucky to have taken photographs of many birds in the past, so had quite a few that I could include. With limited time and also the time of year, I was not able to get out and take new photos but did manage to get an afternoon and went to where I knew that there were lots of very tame ducks. I took bread and got some good photos.

I also have a good friend whose brother is a fly-tier in Canada and she had a lot of exotic feathers given to her by the brother. I was lent these to photograph and am able to keep them until I've used them in the chapter.

My brother has a sculptor friend, Nick Bibby who I have been lucky enough to meet. I have used some of his work on birds as they are so well done. 

As I have so many images, I have taken picture of each pages rather than have hundreds of individual photos and apologise that the quality is not a good as I usually take but the winter light was low and even with a bright light above, they are not very good. 


Page 1.

Phil the Pheasant live in the fields around my brothers home as he tries to pinch Blubell, the chicken's food. She and her sisters see him off, but he's always around. 

I couldn't believe the colour of these budgies feathers. I found the image on the internet.


Page 2

I love seeing the water fowls and wetlands bird. The avocets are beautifully elegant and the crane really quite ugly. The pattern on the skylark's wings is lovely. I have disturbed lots of these on the chalk hills around where I live and really like them.


Page 3

I love owls and birds of prey. We saw a barn owl fly across the front of our car lest night. A real treat, they are like ghosts at dusk. I would like to use the shape of the barn owls face somewhere in this Module and may use it in the border I have noted as I read through. The shape of the waxwing landing is interesting and the black grouse bottom is too! Phil phlapping is funny (there was a buzzard overhead) and the secretary bird and heron walking are good shapes.


Page 4.

A few more exotic birds - The top left is a Condor I saw in Peru. He was 'tame' and we could get very close to him. This walking shape is really weird! The peacock is a fabulous bird both the more common blue and also the white - they are rather overdone in art but the eye of the feather is tempting! Parrots are fun and so intelligent; they come in so many colours and we have lots at Longleat if I wanted to go and see them - just five minutes away. At the bottom of Page 4 and the top of the next page, I have found images of birds in flight. The heron looks like a teradactyl (I have no idea how that is spelt) when it flies overhead and the owl is so quiet and agile. 


Page 5.

The spoonbill is not my photo but the wings are fabulous so I had to have this. The facing wing looks like a spread fan. The black grouse doing his mating dance is hysterical and a great shape as is the lovely little blue tit trying to catch a peanut it's dropped, lovely wing shape. I've taken some drawn shapes of swallows in flight and slow release photos of a tit in flight which show good wing shapes which may help me for a piece I may make in this Module.

The feathers below are on the left, one of Bluebell's fellow chicken, the centre a cockerel and the right peacock feathers which are so iconic. I had some of Blubell and co. eggs, some supermarket organics and some brown eggs so put them in a basket and in the second photo broke one which was poached later. Not very interesting but I did manage to get some photos online and then got some quail eggs yesterday which I will draw and add later. I also added my little collection of bird ornaments to one of the photos of eggs in the basket.


Page 6.

All these images are downloaded. I will use the top right nest for Chapter 2 but am tempted to also try and weave a nest (at some time) like the weaver bird! 


Page 7. 

I downloaded all these images apart from the duck's webbed feet which were from a photo by my sister-in-law. I did visit an area where there were ducks and manage to get more which are another page. 


Page 8.

These images are all downloaded from the web but I have bought a magpie skull to sketch during the module - I like drawing bones!


Page 9. 

I then looked for birds from other sources so first ceramics. 


Page 10.

Then printed textiles


Page 11. 

There were so many that it was hard to choose. The five lower images on the page are my photographs of stitched textiles from a visit to India.


Page 12. 

A selection of feathers both my own and those of a friend. The white goose feathers didn't photograph very well at all but will provide the basis of my first feather stitching in this Module.


Page 13.

The top two images are Morris designs, the next three are de Morgan; the three below are Eirian Scott's and very imaginative and the three bottom images are sculpture by Nick Bibby. 


Page 14.

More of Nick's sculptures at the top. Wonderful! And below my photos of ducks taken yesterday with bread as a bribe. 


Page 15.

I managed to get some good close-ups of the ducks and am very pleased. Lots of nibbling of my fingers, but I managed to get really close and am pleased with the detail of their feet, Tails - I love the shapes of the white duck's rear end and feet underwater. The quail eggs are lovely and I will draw a few of them as they are quite different from each other.


Page 16. 

I intend to use the eagle shapes in a piece which was sketched in my little note book after a lunch where I got the ideas down on the back of my shopping list. 

Then some little drawings in my sketch book of some of the photos. I like the dancing avocets most. 

Fun getting the images - there could have been so many more. 

Ready to stitch!

Monday, 17 November 2014

Chapter 8 Module 3 C&G machine embroidery completed

"One item of embroidery using straight and zigzag stitches. The item is to be developed from the Design and Craft unit ideas, to use free machine and presser foot."

Chapter 8 - Assessment piece

What? 
Possible ideas for stitching.

Box- I am a bit of a box collector and had an idea for a four sided box depicting the seasons using leaf images and flowers

Hanging - I could develop 3D shapes

Bag - I like bags as much as boxes; they are useful but not interesting enough for this piece.
Vessel - Vessel- This interests me as I can use 3D stitching - height depth and texture and lots of opportunities to develop ideas.

Round bowl _ I have made bowls before and whilst I enjoy making them, I'd like to do something different

Fan - This is a nice idea - I could make a continuous image and then segment it for the leaves of the fan. This is an idea that I might pursue in the course

Purse - Too small to include much stitch

Book cover - everyone makes book covers

Shoe - I like the idea of embroidered shoes - they have great potential, old and new, traditional or modern.

I stopped making the list as I felt that it was sufficient but from those ideas chose the three most challenging. 1, the vessel; 2, the box and 3, the shoe

I have submitted my planning sheet in a previous blog but looking back, don't seem to have added these ideas from my small note book.

Chapter 9 - The sampling, threads and colours have been shown in previous progress blogs. The progress of the piece has been slow as I have been very busy, so slightly disjointed and created in small elements.

Chapter 10
There were some pieces to be made to finish the piece. A tree was going to be used as the joining piece between the scapes to form the cylinder. A Thermafax screen of a British deciduous tree was used and acrylic paint onto water-soluble material and hooped when dry. I wasn't sure that the wet of the paint wouldn't dissolve the water-soluble; it didn't. Using some sprung wire, I zigzagged the trunk and branches to create a skeleton of the tree. Then some silk waste was laid on top of the structure and another layer of water-soluble laid on top to hold it down. I then stitched the branches in straight and zigzag free stitches to ensure that everything was trapped and would hold together when the water-soluble was dissolved.

Th piece was washed to dissolve the water-soluble, dried with paper towels and a hair dryer and then the head of the tree 'painted' with Paverpol to create  some support.


The head of the tree.

The tree was then stitched to each side of the main piece with invisible thread and the back join covered with the same silk as had been used for the lining. The head of the tree was caught to each scape at a couple of points the keep it supported but it stands out from the adjoining sides in 3D


The tree joining the two ends of the piece


The side of the tree


The sea with a wave 

The horizontal sea extension is lined with metal to hold shape and the wave was similarly created using three layers of fabric. A dark silk for the internal curve, the same blue as the sea for the external but covered with white organza and a layer of copper mesh sandwiched inside the silks. This was free embroidered and using some water-soluble, some 'white horses' were stitched to the top edge of the wave which was then attached to the sea. The back of the wave is not wave shaped, but the accuracy of the natural elements was not the point, more to create interest and texture/movement.


The stitched title

Having stitched this before I realised that I had misspelt the title. So I looked again at spelling and found more than one for this ancient word. I restitched it on the same silk as previously used and Bondawebbed and stitched over the erroneous title. This was then bordered with a foot down automatic brick stitch which was also used around the piece with invisible thread.

The following pictures take a tour of the finished piece. 


The join


The village


The transition from village to sea


The cliff/sea scape


The transition from Sea/cliff to country scape


The country scape


The tree join from the country scape side

The piece is lined with a complimentary coloured silk throughout.


Photo of me working during module
Evaluation
ITEM
PLANNING
EVALUATION
Design source


I intend to use four British ‘scapes’ to create a four-sided vessel. I will use both imagination and photographic sources for my design
The four was changed to three and instead of four sides will be cylindrical
Design elements


Colour


The colours that I use will not compete with each other but will be subtle and reflect the ‘scapes’ that they portray.
The colours were all relevant to the scape that they depicted. I especially like the contrast of the cliff piece compared to the softer country and village scapes
Line

The line within the sides of the vessel will reflect the components such as cliffs, buildings etc, so thick and thin, filled and voided as required
The line created in each element was relevant to the image being depicted, so perspective in receding fields in the country scape  rock sizes in the sea scape an paths/roads in the village.
Shape and form


The shape will be rectangular and four-sided. Two of the sides will have vertical extensions, one above the main body of the work and one below. The sides will be joined to form a vessel and a base will complete the piece
Cylindrical using three scapes as this would work better, the extensions to elements of the cylinder remain
Texture


The piece will have many textures as I will create buildings, water, fields, rocks, moorland, cliffs, sky, grass, flowers etc., and will create a 3D effect in some of the elements.
The sky was stitched but did not worked well with the sample and therefore removed. The cliffs are very textured to show the clefts and ridges. The free embroidered tree is made from silk waste stitched and wired and supported using Paverpol.
Composition

The piece will have four sides and a base.

On the first side there will be representation of moorland where are small stream rises through the heath. A standing stone will represent the history of the land. The moorland will be created with couched snippets to represent gorse and bracken and heather and may contain a bird perhaps a pheasant.

The second side will depict the essence of the countryside including hills and fields. A stream will run along the bottom of this side through the grass. At the front and in relief, there will be a field mouse, corn and a poppy.

The third side there will represent a townscape including a church with a steeple which will extend outside and above the “box’ or the piece. A pigeon will be mid-air above the steeple. A small river will run under a bridge in this side of the work.

And finally the fourth side, will create the feeling of limestone cliffs with fallen rocks at the base. A rocky beach with waves and ‘white horses’ will extend from the base of the ‘box’ horizontally to reflect the church steeple elevation on the opposite side of the piece. A seagull will fly above the cliff.
The piece is now cylindrical no longer depicting a moorland. The birds and the field mouse were not included as to get them in perspective with the rest of the piece, they would be too small to make an impact.
Quality


The work will have 3D elements and whilst robust in structure will have subtle and gentle elements in the country and village scapes but a strong rugged appearance in the cliffs
The objectives for the quality of the piece were met.
Materials


Base/background


As the piece will be heavily stitched and incorporate many textiles and textures, Pelmet Vilene will be used as the main support but metal will be used certainly to support the church steeple

Fabrics


The lining will be silk in a subtle colour to prevent discordance with the work on the outside. A large variety of fabrics representing the many elements within the piece
Silk, scrim, organza, calico
Threads


Threads will be from a broad collection. Thickness, colour, stitches and type, straight, free, pattern etc. will be appropriate to the element of the work being created
Madeira embroidery thread, metallic for poppies in corn. Complimentary and contrasting colours
Other


Metals will be used in this piece, some heat-treated, some left in their natural state. Sprung wire the thickness of a hair will appear to suspend the birds in flights of fancy!
Metal was used within the fabrics making the sea to enable it to be right angled from the cylinder. A wave was added and also encased copper mesh to create support. The tree had sprung metal encased to support branches and also to support the flag on the tower
Construction


Size

No more than 24’ high (excluding steeple and water) x18’ wide (per side)
The piece is approximately 12” high as the sky was omitted and has a circumference of approximately 24”
Edges

The piece will be joined probably by hand with complimentary stitching
The piece was stitched around the edges using zigzag and a brick stitch and appropriate thread, some invisible
Finishing

As above

Time


This complex piece is likely to take all my spare time so hopefully no more that four or five weeks to complete
The piece took five weeks of spare time to complete. The hours were not itemized but probably around 40 hours
Cost

I am hoping that all the elements will come from my stock of products
Apart from Paverpol, all elements came from stock
Samples


I have enjoyed making this piece. It is good to do something larger and more complicated. I like it very much particularly the cliff scape as it is more abstract, something I am still learning to do. I have always been quite a precise painter and stitched and would like to learn to loosen up. I'm sure that I will during the rest of the course. Good to be halfway through.


Thursday, 6 November 2014

Assessed sample progress

I have been making progress on the assessed sample and have completed the three scapes. To complete the cylindrical piece, silk was Bondawebbed to the reverse and between the silk and the stitches piece, a piece of pale blue organza with clouds added and strengthened with Paverpol was sandwiched. I joined the flat piece into a cylinder and pinned it together. I don't like the effect of the sky, so plan to remove that element.

The waves are still to be made for the horizontal sea at the base of the seascape and a couple of free embroidered birds will be flying above the scenes supported with sprung wire. A free embroidered tree will be stitched and attached at the area where the piece is joined together. I intend to try and Thermascreen a tree onto water-soluble. Not sure if it will work but I'll have a go. The tree will have a wired element for support and zigzagged stitching will be used over the wire.

So, the sample as it currently exists is shown below;


The flat piece showing all three scapes


The country scape as part of the cylindrical piece


The village scape as part of the cylindrical piece


The seascape as part of the cylindrical piece


The title stitched at the bottom of the village scape


The town scape

For the church tower, A piece of upholstery fabric was stitched to the Vilene using a contrasting automatic stitch to appear as brickwork. The fabric had a tendency to fray so I used a nylon "invisible" thread and straight-stitched the edges to hold it flat. 

Copper was free zigzag stitched for the tower and windows and the doors free embroidered. The rest of the church structure surrounds was free embroidered using a variety of stitching methods, mainly long straight stitch and granite stitch. Satin stitch was used to create the top of the wall (dark) beside the road and above the river. 

The cottages were sketched with a dark thread and then filled with shades to reflect soft Cotswold stone. Foliage was in granite stitch and the post box in free satin stitch (zigzag) the paths, roads and river were all made with straight stitch using long and small stitching. The post box was added as a method to draw the eye into this element and relieve the overall 'stone' of this element of the piece.


Country scape

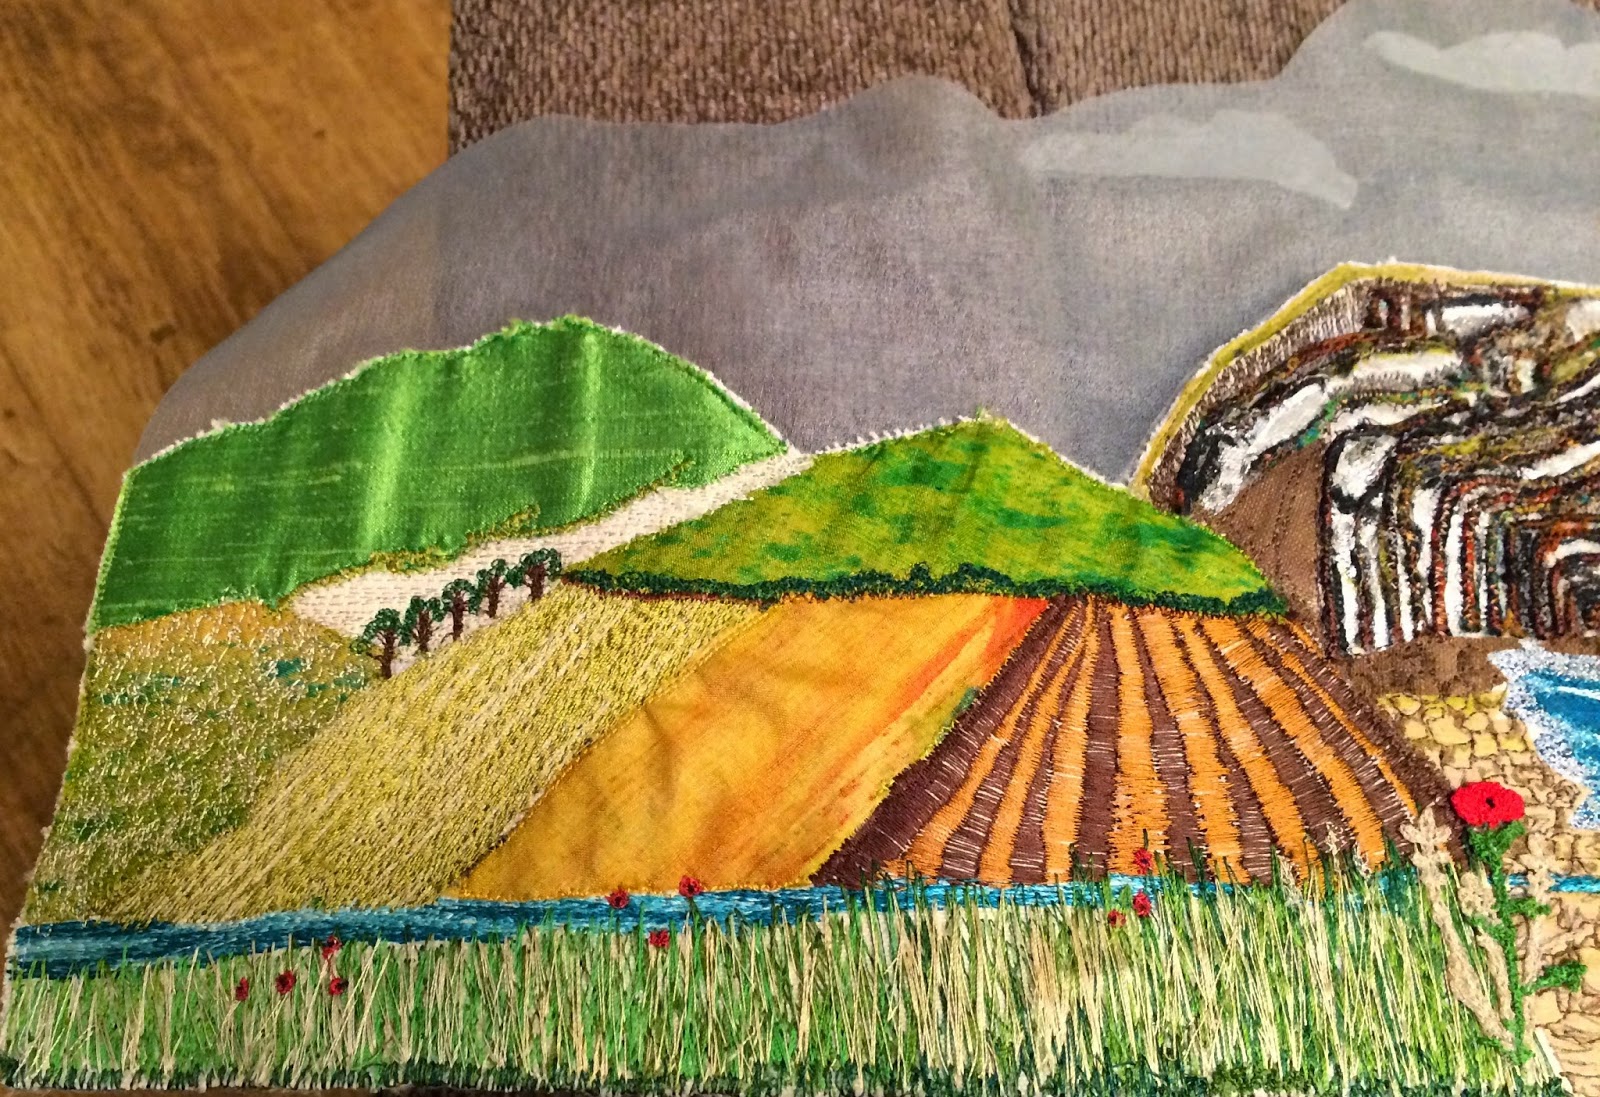
The files were made with a mixture of fabric and straight and zigzag stitching as described with a previous draft description. Corn and grasses create a foreground and the poppy and corn at the right were free embroidered on water soluble and attached separately. Little poppies were added for contrast and additional colour in this element.


Seascape

This was the part of the same that I was most concerned about mainly because of the complexity of the subject matter. The sea was made from dark blue silk on top, pale blue silk beneath and a layer of copper mesh to enable the horizontal element to be bent and stay in place. There are still waves to be made and added to the sea to add movement and these will again contain mesh to get a rolling effect. 

I used previously natural dyed fabrics that I had made for some of this element. The slabs of rock are Walnut ink dyed and some small pieces are tea and onion skin dyed. Some lengths os silk sari material were zigzag braided as I wanted to use them to create the feeling of the strata of the amazing cliff face. I used a range of complimentary browns to stitch the braids. A couple of metres of braid were made. To find the high spots in the cliff face, I used foil and created highlights. White and dark brown textile paints were also added to develop the texture of the piece which was then heavily stitched with long and short, straight and zigzag. 

The rocks and stones around the beach were free stitched and enhanced with fabric pens to give them more shape. The beach line is stitched with white, silver and very pale blue granite stitching to depict small wavelets. 

I am thoroughly enjoying making this piece which will be eventually used to contain a flower arrangement. I look forward to using it.