Friday, 6 June 2014

C&G level 2 Module 3 Chapter 2 completed

Plain Edges


Straight edge

Taking elements of an umbrella drawing from my source designs in Chapter One, I made a draft plan for the piece and cut out five different sized shapes to arrange on a background fabric.


Draft plan for straight stitched edges

I decided not to use Brusho from the plan but used a piece of blue silk supported by Vilene and using Bondaweb attached slightly different blue triangular shapes to the base fabric. I then covered with a blue organza attached with Bondaweb. Then I attached with Bondaweb on top of these layers, blunted triangular shapes again from the source design.

I had seen a costume on TV which was blue and yellow and thought how good they had looked together, so using a satin stitch, I stitched some of the sides of the bottom layer triangles. Then with a contrasting blue thread, I made two rows of straight stitch on top of the yellow blunted triangles. 

As I chose to have four designs rather than one on my sample, some of the stitching was quite small on the little blunted triangles. I reduced the stitch length to make this easier but it was tricky. I used foot on throughout this chapter.


 Page 8. The straight edged sample

Satin stitched edges

I used the base of the Eiffel Tower sample as my design source and this time stuck to the five shapes. 


 Draft plan for satin stitched edges

I created my background fabric from a green felt supported on Vilene and tried to find an 'industrial' looking stitch to work with the engineered Eiffel Tower. I tried a few on a small piece of calico and put this into my note book with the plan. 

Using a variegated thread, I stitched the base fabric all over and then cut out my shapes and Bondawebbed them to the base fabric, trying to create and interesting shape on the fabric. These were  satin stitched around using the same variegated thread for the connected shapes and then one surrounded with red and one with green for the separated elements 


 Page 9. Satin stitched edged sample

Curved edges

I chose to use a random dyed background as the design source that I intended to use was from the Montgolfier balloon image. 


My draft plans for the sample

I random dyed a piece of damp calico with Brusho red, yellow and blue and crumpled the fabric to get the paint to all areas. The resulting fabric was pleasing and could represent a cloudy sky with greenery. 

To enhance the piece, I used Milton (bleach) and with a paintbrush drew the shapes that I had cut for the appliqué that I intended to add to the fabric. The bleach removed the dye as I had intended it should. The piece was then stitched in straight lines down the fabric in the same colour green as the appliqués were to be. 

Then I cut the five shapes taken from the balloon image and Bondawebbed them onto the base fabric. They were then stitched down using red and green threads in a twin needle.


Page 10. Curved edges

Second curved edge sample. 

This piece was to be made using satin stitch as an edging for the appliqués. I chose a piece of Vilene supported random dyed felt as my background and intended to add a background block print stitched around with and automatic pattern. Using Milton (bleach) I block printed a small piece to see if I could remove the dye from the felt. That worked, and I then found a shell automatic pattern which I thought would work with the shape of the block. 


My test piece

I then blocked the whole fabric piece with bleach and waited for that the develop and dry. All the blocks were then encompassed with a the shell pattern using a variegated thread than toned with the fabric. 

Notebook drafts for curved and automatic samples

For my curves, I had chosen to cut a 'comma' which had been reflected by the block I had chosen for the background. I cut five 'commas' from a piece of paisley printed tussar silk and backed them with Bondaweb. I attached these pieces to the base fabric and stitched around them with a tonal lilac thread to bring the piece together. 


Page 11. Curved edges 2

Some of the satin stitch is a little uneven but the whole piece I find very pleasing. 

Torn and frayed edges with fabric

I chose a piece of cerise silk which I supported with Vilene. One the diagonal I stitched an automatic pattern using a variety of pattern lengths and three different variegated threads which I then alternated across the fabric. I then tore strips from a piece of random dyed polyester and some plain calico and using one of the three variegated threads attached the torn fabric pieces onto the base fabric. I then altered the right and left angles of the silk base fabric that I had left unstitched by removing the weft thread from the silk to depict a kite and stay with the "Up, up and away" theme for the Chapter. I think that this piece is vibrant and would look great flying high in the sky.


Page 12. The automatic stitched torn fabric

Frayed edges with paper


My draft plan for the torn paper piece

As the piece was to be about torn paper, I decided to use newspaper, print and text to build the sample. I took a piece of Indian text newspaper and photographed it, then printed it onto fabric using a sepia tint in my editing on computer. The text is from Orissa in India. 


The printed fabric

I then stitched a grid using black and silver variegated thread onto the printed fabric which was supported by a piece of felt. Using the text possibilities on the sewing machine, I then fairly randomly stitched the word "Namaste" across the horizontal fabric lines of the grid. This is an Indian greeting translated as "I bow to you". 

I tore lines of text from the same newspaper as the base fabric and used acrylic wax on both sides to strengthen the paper for stitching. The lines of text were then stitched to the base fabric using the same stitched word. I then used a gold Markel stick and rubbed it across the lines of paper text. 

I really like this completed piece. 


Page 13 Torn paper edges finished sample

This was a very enjoyable chapter.


Saturday, 31 May 2014

C&G Level 2 Module 3 Chapter 1 completed

Chapter 1 

Picture gallery

I chose the following images as my picture gallery for the chapter - some related to 'Up, up and away'


Page 1. A piece of Paisley patterned Indian historic kantha work (folk art) and my drawing of some elements


Page 1. Up, up and away! Brollies.


Page 1. Up, up and away. Montgolfier hot air balloon


Page 2. An old piece of kantha work used as a colour source for fabrics for backgrounds

I used the piece of kantha quilt (folk art) as a colour source and using watercolour pencils (maker unknown) I tried to find the colours within a fairly limited selection. 


Page 2. My best match for the colours from the kantha (watercolour pencils)

Then I used transfer paints to find the best match for the colours I had used. 


Page 2. Transfer painted A4 paper (a bit wrinkly as I used a hair dryer)

I ironed the transfer painted paper onto a piece of polyester satin supported on Vilene. The paints never look like how they will turn out on polyester satin and selected the threads that I had a closely as I could to the colours in the source. Given that the source is several hundred years old, it wasn't surprising that I didn't get the same faded look as the kantha piece. 


Page 2. Left hand - transfer paper. Right hand - ironed onto polyester satin. Along with the selected threads.


Page 2. The stitched sample

I realised half-way through this exercise that I had chosen to make too big a sample - A4 - and should have worked on a much smaller piece. I mounted the satin with the Vilene in my largest hoop and the elements where there is higher density of stitch is when I had to move the hoop to complete the large piece. I think that this looks untidy and not tonal, so am fairly disappointed with it. If I had to do this again, I would tone the colours down and work on a smaller piece with smaller stitches and in that way create a more tonal work. I worked the light tones over the darker and mid-tones, but don't think it works.

Moving on, to more stitched background - one of my design sources was the Eiffel Tower; (up and away - France). I chose to use the base of the legs as a shape and abstracted that to create a different image. 


Page 3. The Eiffel Tower as a design source


Page 3. My thought processes from my notebook


Page 3. Taken further to develop a design

The bottom image could be taken further as a strap or edge. I then used a piece of black felt stabilised with Vilene and using the colours I had worked through in my notebook stitch the design. 


Page 3. The stitched sample

My thoughts are that this would look interesting in different colours on different backgrounds and that the diagonals could be used in an interesting way.

Automatic patterns


Page 4. Automatic patterns on red velvet

I selected and automatic pattern and using a range of threads colours including silver and gold metallics was interested to see how they would work against the red. 

Left to right.
Silver and gold metallics - these gave an Eastern feel to the work - sari like and rich
Blue and green - Reduced the 'redness' of the red 
Acid green - was a good contrast colour with the red
The variegated thread is interesting as it occasionally disappears and leaves what appears to be an imprint rather than stitching on the velvet


Fabric backgrounds

Sheers - strips

I made a sandwich of white organza, Bondaweb, organza strips in a range of purple tones, Bondaweb and purple organza. 

These were all fused together using parchment paper and an iron, then areas burnt away with a heat gun. It made an interesting honeycomb-like effect. 


Page 4. The purple side


Page 4. The white side

Sheers - snippets

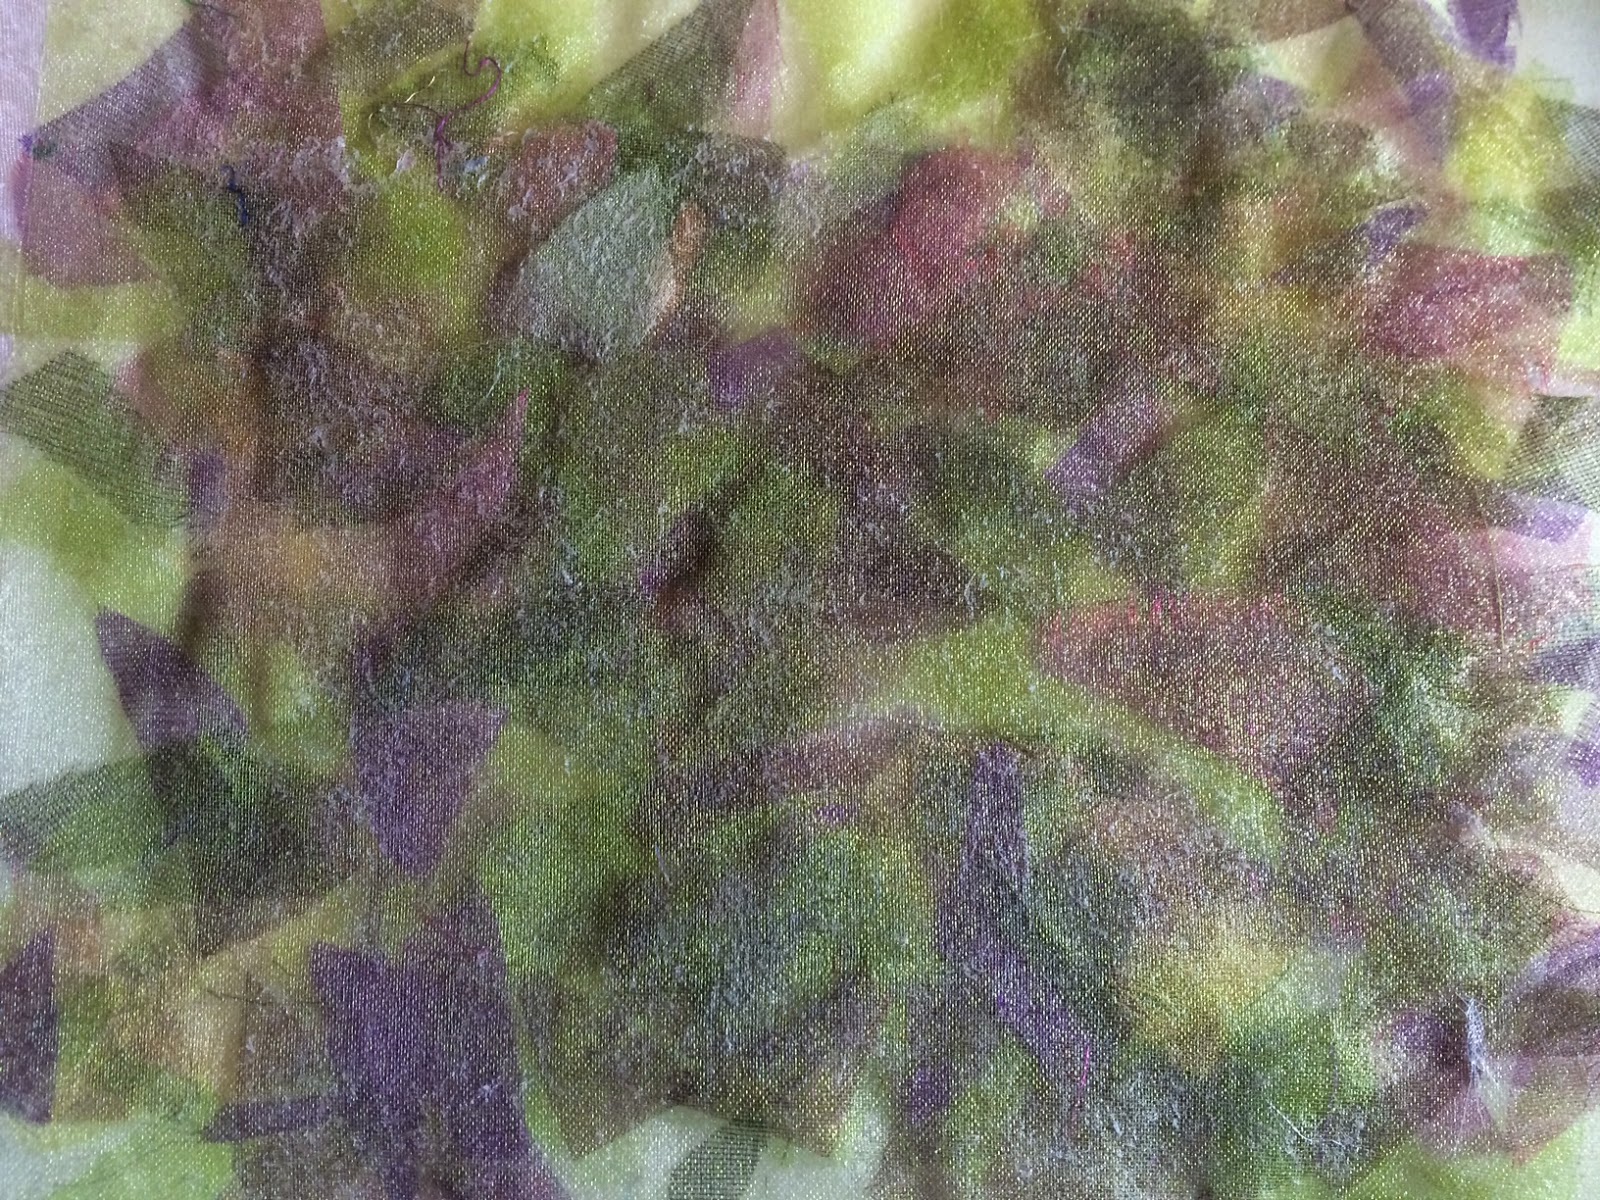
I chose one white and one pale green layer of organza and ironed Bondaweb to each under parchment paper. Then between these layers, I laid snippets of organza and ironed them all together using parchment paper to protect the organza. 


Page 5. The white side. 


Page 5. The green side

Fabric snippets

Black felt and black organza were both fused to Bondaweb and layered with a sandwich of 'black' snippets of various fabrics, then fused together by iron on parchment paper. 

The layers were then stitched with a grid of black straight stitch to create an interesting new fabric.


Page 5. The black grid sample 

Some of the blacks verged on grey/silver but add interest to the sample.

Angelina

The base fabric is black felt with a layer of Bondaweb fused to it. With the backing paper removed, small pieces of Angelina were sprinkled onto the Bondaweb and with the protection of parchment paper, the Angelina and Bondaweb were fused together. 


Page 6. Blue and pink Angelina fibres fused to black felt

Painted fusible webbing/transfer adhesive

A piece of cotton fabric was used as a base layer. Bondaweb was painted with silk paints and when dry the Bondaweb was fused to the fabric and then the new fabric was stitched with a toning thread in straight lines.


Page 6 The new fabric (above) and the original (below)


Page 6. The stitched new fabric

Printed and stitched background

Using the Paisley patterned kantha source as one design and the umbrellas as another, two blocks were made from funky foam and card 


Page 7. The two blocks - left, the comma shapes from the Paisley pattern and the V shaped elements from an umbrella

Three colours of paint were used to block the fabric; yellow, mid green and dark green. The yellow was too loud so it was toned down with gold Markel stick. 

Then stitching was applied; straight stitch was used around the gold triangular shapes, stain stitch on some edges of the dark green triangles and straight stitch around the 'commas' of the Paisley pattern. 


Page 7. Top - original fabric. Bottom - The block printed and stitched fabric


This was an interesting chapter developing new fabrics. 


Wednesday, 21 May 2014

C&G Level 2 Module 2 Chapter 10 completed

3D Manipulated Structure

The brief for this chapter is to develop a fourth resolved sample to show 'line and texture using free embroidery techniques'. The sample is to be stitched on paper or wire mesh based on the module's learning.

Inspiration

My inspirations were the snakes-head fritillary flower, cow parsley once seed has set and hart's tongue ferns.

I decided that some elements would be free embroidered on paper using acrylic wax and some on heat altered metals, both copper mesh and steel cloth.


Page 61

Design

Using the three plant/flower sources above, I considered how I would change their shapes to not make them as they 'are' but as they 'could' look. So I did some loose sketches in my small notebook to find how my ideas might work. As I thought (and woke up thinking) about the processes, I also decided that the forms would be supported on a woven bed of sari silk waste in woodland colours.

A flower

So, I had chosen a snakes-head fritillary from photos in my Spring garden.


Page 62. Plan for plant forms - flower and leaves

Page 62. Notebook page of planning (apologies for sideways image)


Page 62. Planning pages from notebook

I thought about how I would represent the flower in 3D and made two or three sketches (left page of notebook), elongating the petals and concluded my thought process by deciding that the flower would have three petals to enable me to join them (they have four in reality). I wanted there to be a delicate feel to the flower and so would use a heat treated stainless steel cloth as the base fabric. The squares of the snakes-head fritillary would be alternated between granite stitch and bare burnished metal. The metal would be covered with organza in slightly different shades and stitched in a slightly different tonal range of closely matching colours. In some squares, I would leave the fabric and using a candle, burn back some areas of petals to show degradation of the flower. I decided to make three flowers, two complete and one starting to decompose, with a fallen petal on the base fabric below. The flowers were to be supported on zigzagged wire stems.


Page 62. Initial outline of fritillary on heat treated stainless steel cloth


Page 62. Granite stitch on alternate squares of flower


Page 63. A completed fritillary flower


 Page 63. Fritillary with fallen leaf exposing internal wire support


More design - the leaf

I had chosen a hart's tongue fern photograph from my garden and I decided that I would make three leaves. These were to be made using copper mesh as a base and would be self-supporting but to enable them to be meshed into the base fabric, a zigzagged stem was made to run from the base of the stem. I made some drawings (right hand page of notebook). The mesh was laid between two layers of organza in a range of shades the outside shape of the 'leaf' was marked out with cable stitch and then overlaid with an automatic blanket stitch. The central vein of the leaves were stitched with an automatic stitch and then the fabric folded down the length of this line. The fabric was then manipulated into shapes similar to those of a fern. The third of the samples was made in brown rather than green organzas and darker stitch and left without a stem support as it was to be 'crunched' as a dying leaf on the base fabric to denote decay.


Page 63. Completed leaf on either side of flower

Unfortunately I didn't take photographs of the processes use to make the leaves

Even more design - the seedpods

I wanted to use 'cow parsley' anthriscus sylvestris as my seedpod inspiration. Not from the garden this time but from a photograph taken when the seeds had set last year. I decided to make the seedpod from paper. Two different pale beige-y Indian papers were selected - one heavy and one very light. They were to be cut into circles and block printed with an Indian fern shaped block, stitched with an automatic pattern dividing the circle into eight, where the unstitched elements would be cut away, the remaining arms rolled inwards and outwards and small seeds made from the waste paper, rolled and attached to the downwards turning arms.


Page 63. Plan for seed head/pod (left page)


Page 64. Lightweight paper on left and heavy weight on right - small circle above was stitched into the internal centre to strengthen the papers, Block printed and acrylic waxed


Page 64. Stitched with a fern pattern


Page 64. Waste paper rolled for seeds


Page 64. Completed seed head

Keeping the Grinling Gibbons 3D relief work in mind, I did consider whether this piece would work best as a wallhanging or as a standing piece. I decided on the latter, but with not much work this decision could be changed.

Joining together would be done both by hand and stitch wherever required.

The colour scheme would be gentle as I am trying to depict delicate plants in growth and decay.

My sketch is on the right hand page above although this was my first thought, once in creation I decided to use a woven base made from sari waste and copper base for stability. This would then be crunched into a more organic shape.

Plan

Image - my image is to be loosely based on a flower, fern and seedpod
Form- the forms would be created using different methods
Textures - There would be soft (flower), spiky (leaves) and curly (seedpods)
Colours - soft colours, lilacs and greens, browns and beiges
Line - The 3D structure would be flowing as none of the elements would be completely upright
Fabric - stainless steel cloth, copper mesh - both heat altered; organza, silk, paper and acrylic wax
Order of work -
The wires were zigzagged first in three colours 28g wire with dark and pale greens and beige threads.

The seedpods next as I need to block print the papers in advance;

Then the flowers; the stainless steel had to be heat treated in advance

Then the leaves; the copper mesh had to be heat treated in advance

The base was then made weaving sari waste and laying it on a layer of copper mesh and stitched around the perimeter to stabilise it but leave the weave open into which to mesh and stitch the wire stems of the plant forms.

The construction was the final part of the process - the wires would not hold the heads in upright positions and were allowed to droop. the wire stems were intermeshed in the base weave and stitched into place using free zigzag.

Evaluation
I would have liked more supported plant forms and should have used a stronger wire to support them.
I have used granite and cable stitch and free zigzag in this sample but on reflection should have used more free embroidery stitches. I could have done more free embroidery on the base fabric to meet the brief more effectively


Page 65. The finished resolved sample "Growth and Decay"

On reflection, I was not happy with the base of this sample as the colours were not in keeping with the stitched flowers, so I deconstructed the piece and wove another base of more tonal silk sari ribbons which I have purchased since completing the original piece and stitched it to the same copper mesh base with organza beneath to protect my machine. The plants were then re-attached and this time more firmly than before to reduce the fragility of the price. I am happier with the new sample as the colours work better together.


Revised sample


Photo of me working