Collecting images.
Images were collected from my own photo collection from around the world and some magazines. They were then sorted into different types.
First crinkly and spiky then rounded forms and some that didn't fit any of those categories but I liked them and a couple I though may be useful for tassels so added to keep them.


I sketched a few beside their pictures (pages 1-5 in my book)
I found a flower that I like a lot and have many in the garden. Hellebores are so varied and beautiful. I first sketched the flower and using black thread on backed calico, I made a stitched sample

The hellebore and drawing along with the stitched sample (Sample 1 page 6)

The stitched hellebore
I enjoyed stitching this, dogs down and free embroidered on calico back with pelmet Vilene. It's difficult in black thread to reproduce the delicacy of the hellebore but as this was about form and stitch I simply defines the difference in colour between the petal and the edges. To create the stamens and centre meade the density of stitch more that the hellebore presents, but the exercise was interesting. I would take the stamens from the edge of the centre rather than the centre itself in future. I did a little hatching in areas to depict shadows, but not too heavily.
Drawing with the needle.
I cut a stem of pieris from the garden and photographed it to create a flat image from which to stitch my sample. Using Cefyn Burgess's work as an example of how I might present this piece, I put calico in a hoop and stitched in black thread.
I like the simplicity of Burgess's work and the contrast between the black and calico. I drew the references from my photo to the calico although on reflection I should have drawn the plant onto paper and then to stitch.

The Pieris, Cefyn Burgess example and my stitched sample. (page 7)
I enjoyed making this sample and like the result. When I have more time, I would like to use this technique using cow parsley which is a great favourite of mine and stitch in different colours to create a fabric.
Then looking at Grinling Gibbons - what an amazing wood-carver. I love how he creates such realistic delicate objects so beautifully. I chose one of his carvings and took some of the elements to make a small sketch.
I then made a collection of flower, leaf and seed pods from the garden and dried specimens that I had saved since last year and made a drawing.
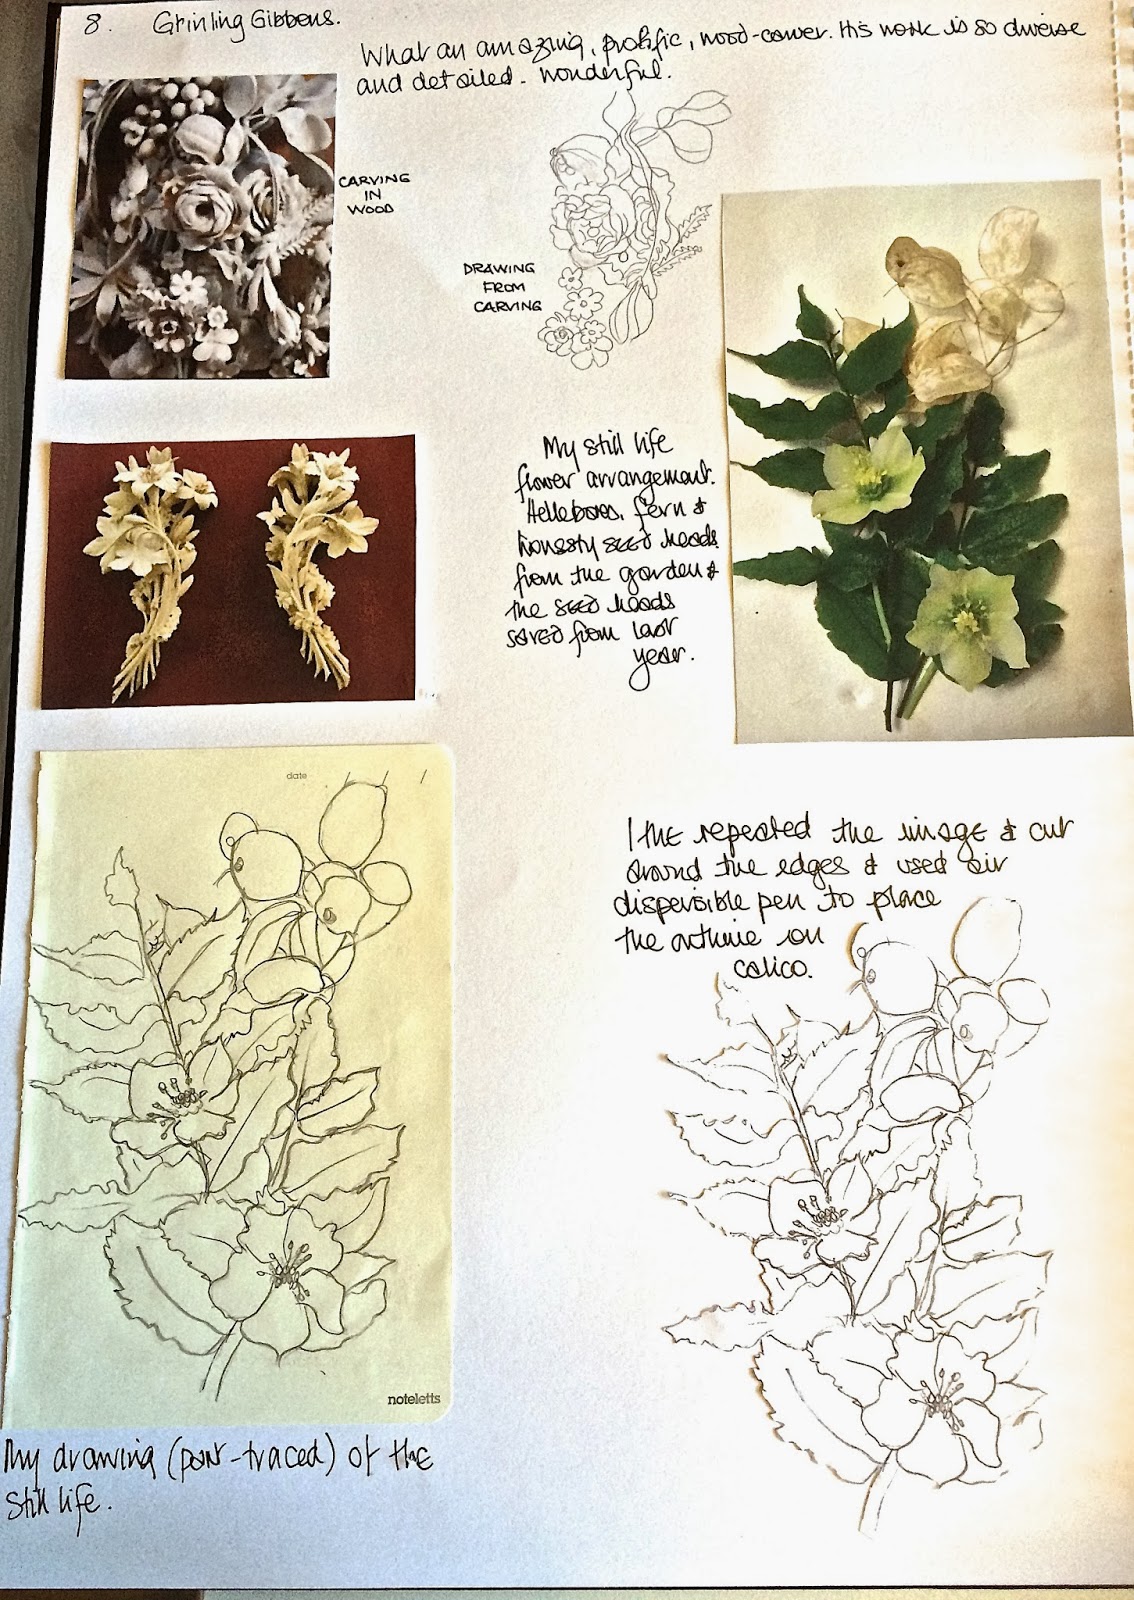
Flowers, leaves and seedpods (page 8)
Again using hellebores and a lovely fern which just seems to never die (it gets nibbled around the edges) and some honesty seed heads, I made a little still life study and a drawing. In order to transfer this successfully and maintaining dimensions to calico, I transferred the outline of a cut copy using air dispersible pen to calico backed with white felt. I then supported this in a hoop and stitched in black thread.
Hatching was suggested as a possible for this image but I decided not to as I wanted to create the clean simple image as for the Burgess sample. I like this and the last piece very much.

Sample 3 (page 9)
Creating voids
This next exercise was to collect some differently shaped vases, jugs etc and make a drawing of them overlapping each other to create negative spaces. I did consider going to the charity shops to find some more appropriate items, but decided to use what i have.

My small still life collection (page 10)
I think that what this image lacks is height but decided that I could still do the exercise successfully with these.
So, I made the drawing - the dimensions are not absolutely accurate but as the guidance states, this was not a drawing exercise!

A simple sketch of the still life (page 10)
Then tracings were to be made of the drawing with elements of the image removed to create additional voids. I made several tracings trying to determine which would make the best example.


My first tracings determining which I like best (pages 10 and 11)
Then using one of the tracings I coloured in blocks to decide on the voids. I did this on two tracings but even having decided which I thought would work best, I still changed it as I did the sample.


Two blocked out tracings to determine voids (Page 11)
The image with voids was then transferred in reverse to Stitch'n'Tear and using white thread top and bottom the Stitch'n'Tear on the back of the felt. the image was stitched on the lines.

Front of felt once stitched through from the reverse (p12)
The voids were blocked on another piece of stitch and tear as a pattern for stitching and using white ordinary thread top and bottom, dogs down, the image was transferred in grant stitch - love it!
I had to do a little bit of modification as I went along. Probably because I needed different artefacts to begin with, (but it was 0600) there were insufficient voids to create the divisions but this was overcome by creating little elements of stitch to separate areas.
I enjoyed this chapter very much and look forward to Chapter 2.
No comments:
Post a Comment