A4 size for these six pieces was likely to be manageable although I could see a challenge with the egg sample.
Scribbled ideas
I made rough sketches of the six suggested elements

Page 17. Bird shapes

Page 19. Nests
Page 18. Feathers

Page 20. Bird skeletons

Page 21. Eggs

Page 22. Footprints
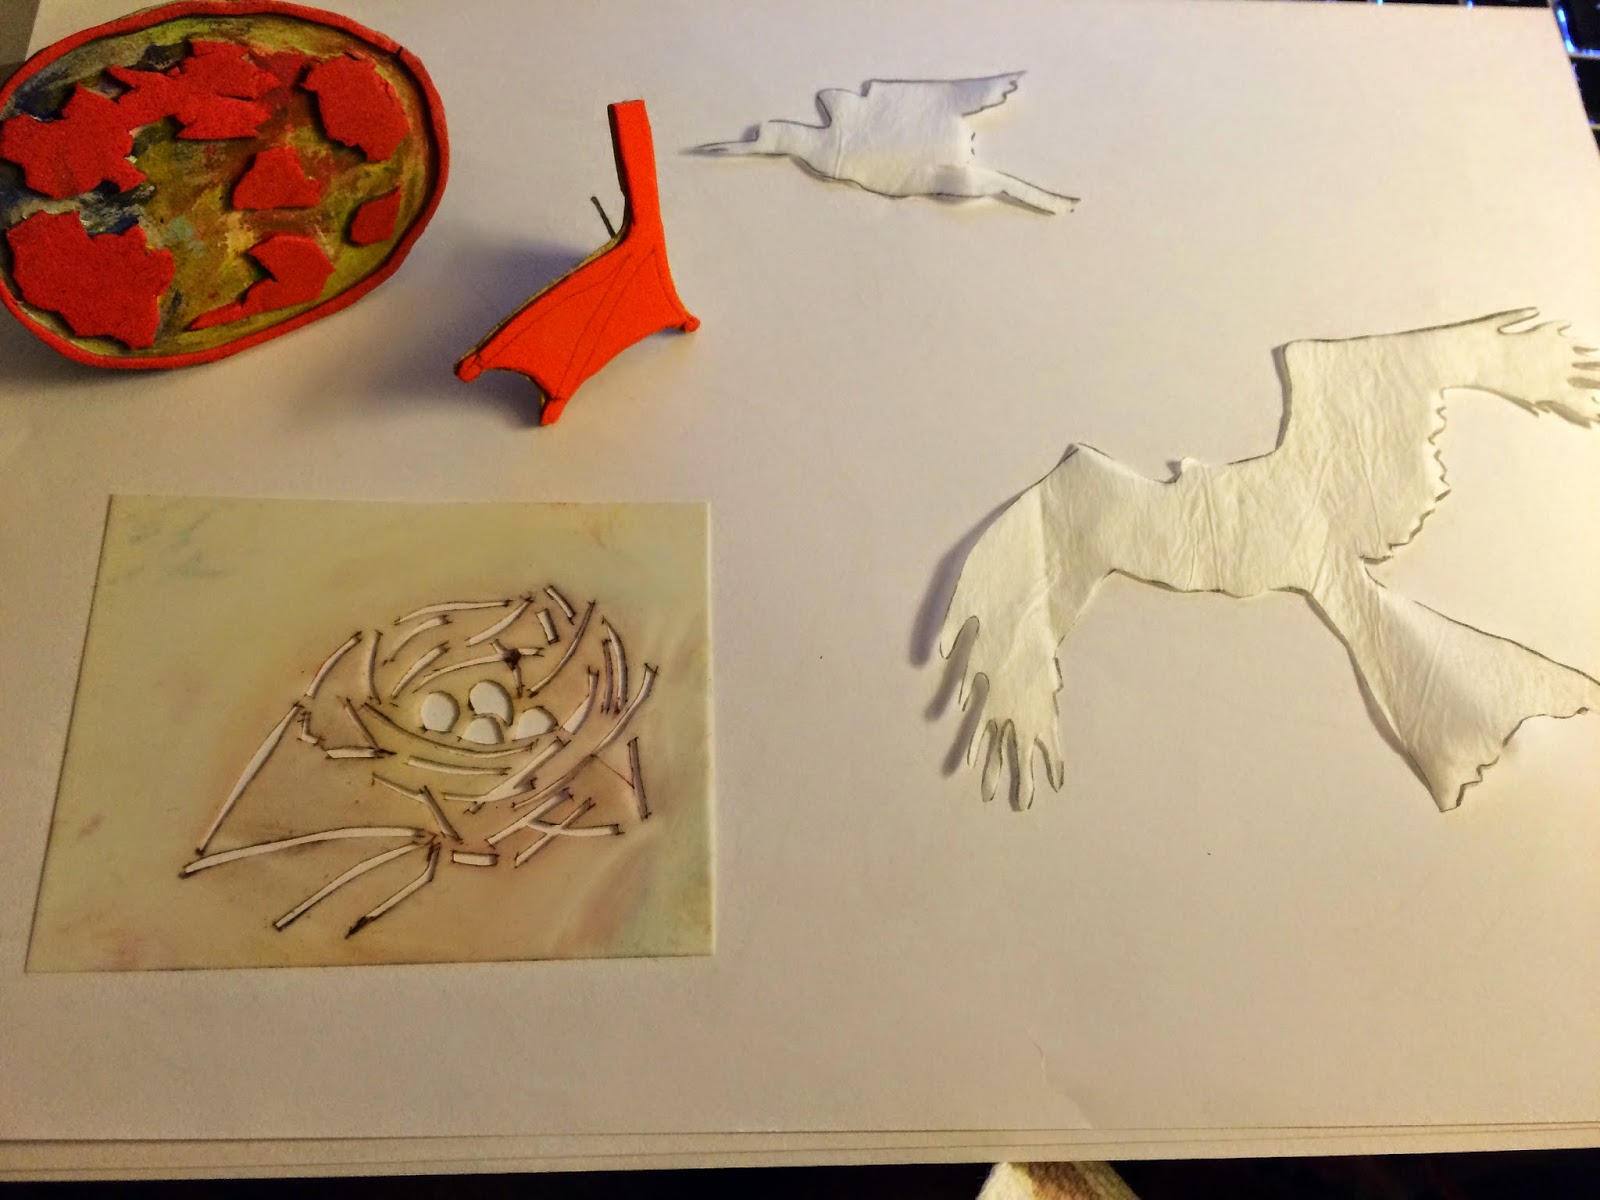
Print and stitch patterns - bird shapes

Bird prints

Bird blocks of an Oyster Catcher, a Red Kite and a stylised peacock from a de Morgan ceramic
I printed the bird blocks onto calico using Koh-in-Noor paints for the first time but thought the sample too stark,

Page 22. Blocked calico
so, I printed a piece of calico and did negative blocks on a Gelli plate before transferring to the fabric, but didn't get a very good print.

Page 23. Negative print
So, I then printed another mix of paints on calico and made both positive and ghost prints

Page 24. Bird sample before stitching
Using a range of threads, I stitched the ghost areas of the red kite and the Oyster catcher and the positive print of the stylised de Morgan peacock. I stitched the peacock with metallic thread which doesn't show up too well on the photograph. The focal point is red stitching in one of the peacock's eyes.
Pattern repetition of shapes and spaces - bird's nests
Using one of the images from my research, I made a simple stencil and used a range of soft coloured Markel sticks to mark the fabric.

Nests printed on calico
I free embroidered the piece with soft coloured threads and metallics. The focal point is golden eggs in one nest. Sadly, this does not show very well in photographs.

Page 25 Stitched birds nests
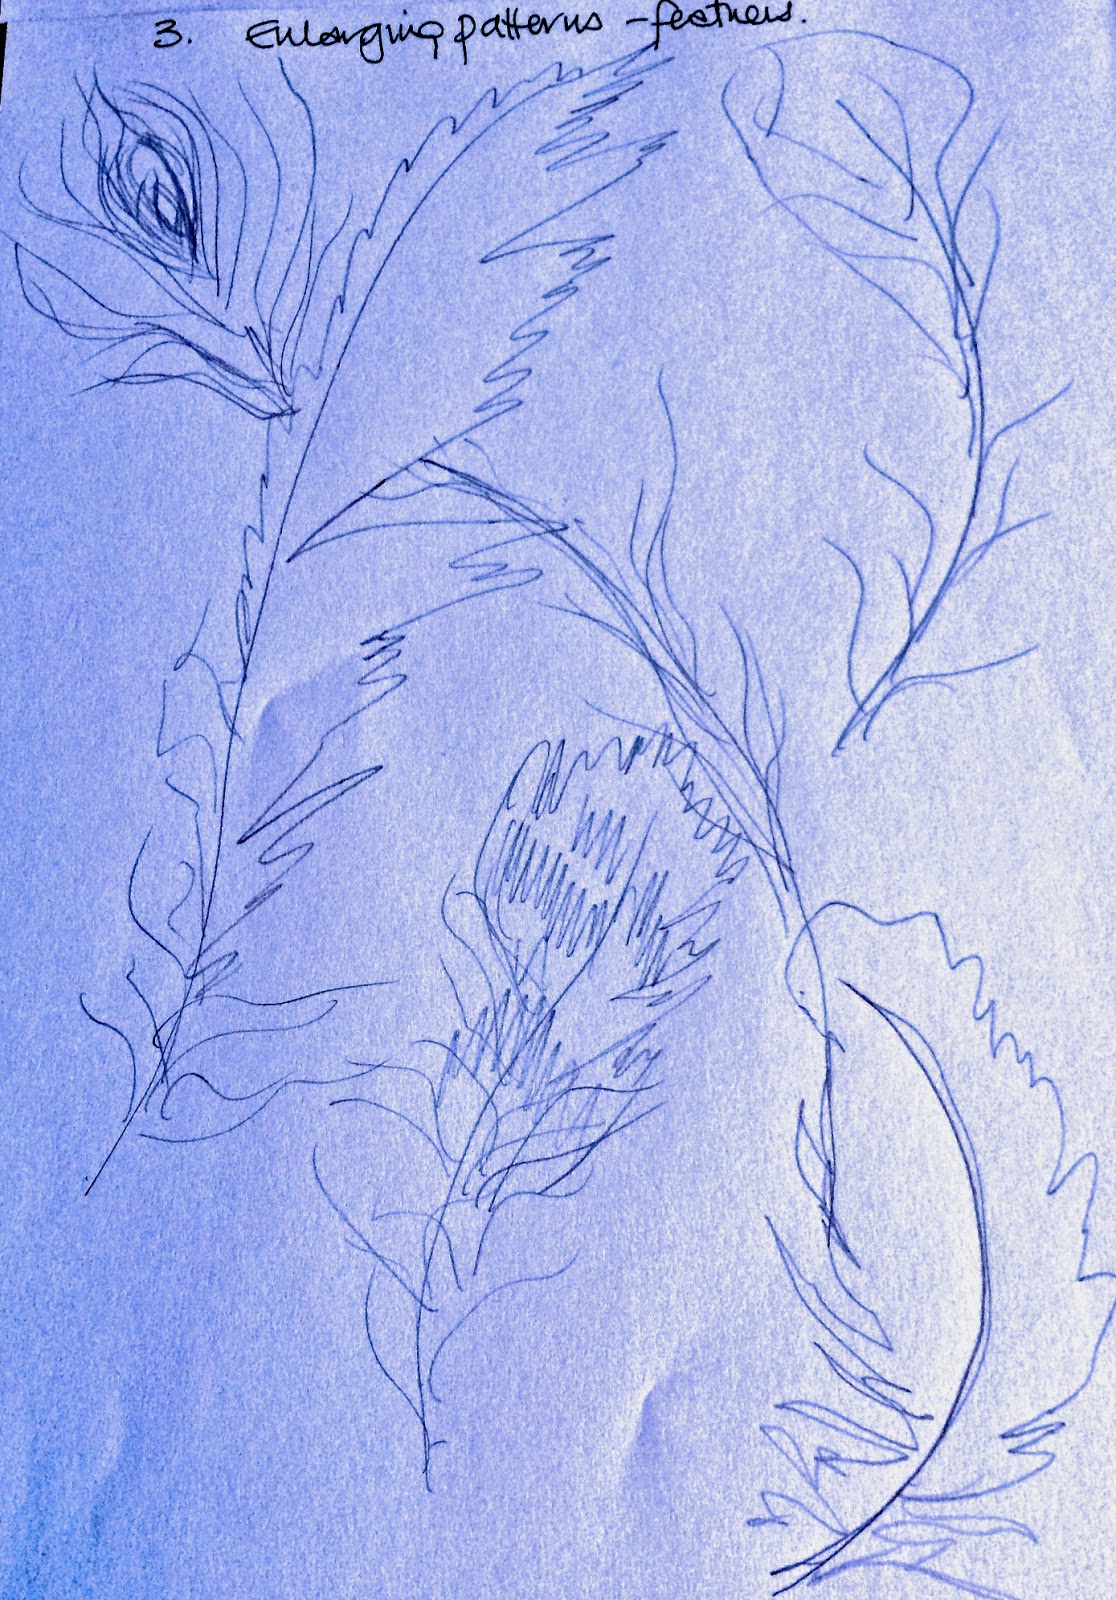
Enlarging birds feathers
I supported a piece of calico with Vilene as I anticipated some heavy stitching. I printed a feather pattern using a Thermofax screen and then painted some simple feathers using Koh-in-Noor paints again.

Thermofax base on calico

Simple painted feathers

Page 26. The stitched sample
I didn't really think that I should use the peacock feather as they are overdone, but the colours and shapes tempted me. I enjoyed making the feather using one from my hat that I wear on walks. I then stitched large feathers and stitched over with smaller ones. I like the colours and the way they mix, although the little green feather does look as bit like a fern!
Border designs, repeating patterns - bird skeletons
Having recently visited India, I really appreciate the colours and vibrancy of the borders they create. I also remembered a previous sample when I had used red, black and yellow threads and loved the effect, so - I used a bird skull as my source and created a simple motif for the border. I did think that I would also use a leg bone as an added shape but as the piece developed I decided not to add to it.
The bird motif top left and some possible development
I made a template for the border to fit the motif with small elements overlapping the edge of the border to create interest. I used the beak as an additional shape to create diamond shapes in the border. Using a transfer pencil rather than a block, I transferred the image onto Vilene as I intended to use cable stitch with mercerised cotton in the bobbin, bypassing the bottom tension.

Page 27. Bottom - the paper template with motif; top the transferred design on calico
I stitched some of the 'eyes' of the skull to see if my idea would work and was happy with the result

"Eyes" in cable stitch
I then proceeded to complete the piece using the colours as suggested above.

Page 28. The completed sample
I used a variegated black/white cotton for the eyes in the centre of each border and am really pleased that they worked so well, almost looking like eyes. I varied the stitching and on the 'red head/yellow eyes' elements think that they look like aviators helmets and glasses, so that all fits with flight!
Altered patterns - birds' eggs
I knew that the was going to be tricky as the tracing I had made was so complicated, so I sketched eggs and then enlarged the drawing on the computer to fit A4 paper. I then removed some lines from the sketch to simplify the image.

Page 29. The first sketch

Page 29. Enlarged to A4

Page 30. The finished egg sample
The eggs were all stitched around with brown thread and small areas of the piece were stitched with granite stitch in soft variegated threads, then blocked with a simple print block using fabric paints. The focal point is (visible in the real sample) gold paint in a section of one of the eggs. It shines.
The egg block is top left
Thicker and thinner lines - bird footprints
Webbed ducks' feet were the images I selected to use for this piece. I drew a webbed foot turning in angle and diminishing in size as it walked down the page.

Page 31. The diminishing web
I backed calico with Vilene and using mercerised cotton, cable stitch and bypassing the bottom tension, stitched the larger three feet, then using a thick cotton thread, I stitched the next smallest feet and finally using normal sewing thread, I stitched the smallest feet. They are barely visible against the fabric.
I then made a block and printed the webbed foot over the piece using yellow fabric paint. The webs were stitched alternate rows with purple and orange thread picking out different parts of the foot to stitch. The focal point on this piece is on the right where I have stitched the toenails and web in purple.

Page 32. The webbed sample
Not having a large area to pin or hang the pieces together, I had to lay them on the floor to take a photograph of them.

Page 33. The six samples side by side
This chapter is now completed - on reflection, I could have used different backgrounds for the images but that may have confused the results.
No comments:
Post a Comment